
Self-care, my friends! Where better to start than your own bathroom? Having a fresh, clean bathroom is an essential part of our lives. It's where most of us start and end our days- it’s where the make up goes on in the AM and if I REALLY have my sh!t together, it is where it comes back off before bed. And just like with all areas of our homes, sometimes we need to hit the reset button and give our bathrooms (and faces) a face-lift. But kitchens and bathrooms can be the most daunting areas to do just that. So whether you just moved or you have been in your house or apartment for 10 years, WKNDR is here to give you the easiest and most affordable ways to turn your bathroom into your own personal oasis.
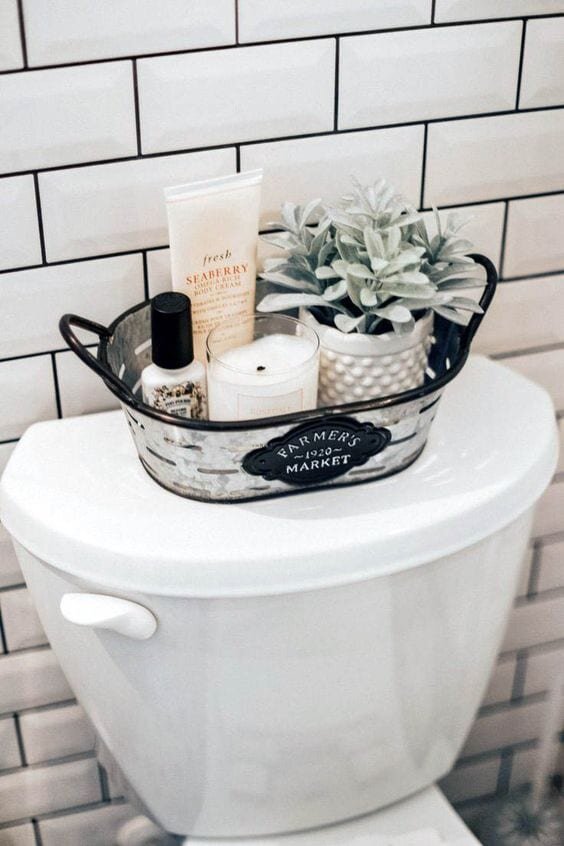
Just like everything else in life, it all starts with the little things. Succulents are your best friend when it comes to bathroom decor. Not only do they add some color but with a nice pot they can make a stale room come to life. Easy peasy, and minimal TLC to thrive. My kind of plant!
A few gorg candles are not only functional (you know what I mean), but they can also be really boost your bathroom aesthetic. Have I told you all about my jetted tub in my new condo in C’ville? Okay, well if I haven’t, I HAVE A JETTED TUB IN MY CONDO IN C’VILLE. Official tub PSA. And there’s nothing more relaxing than a bubble bath with music and candles. Who am I? A queen?! That’s how I feel in there and it’s all about the ambiance from my flickering friends.
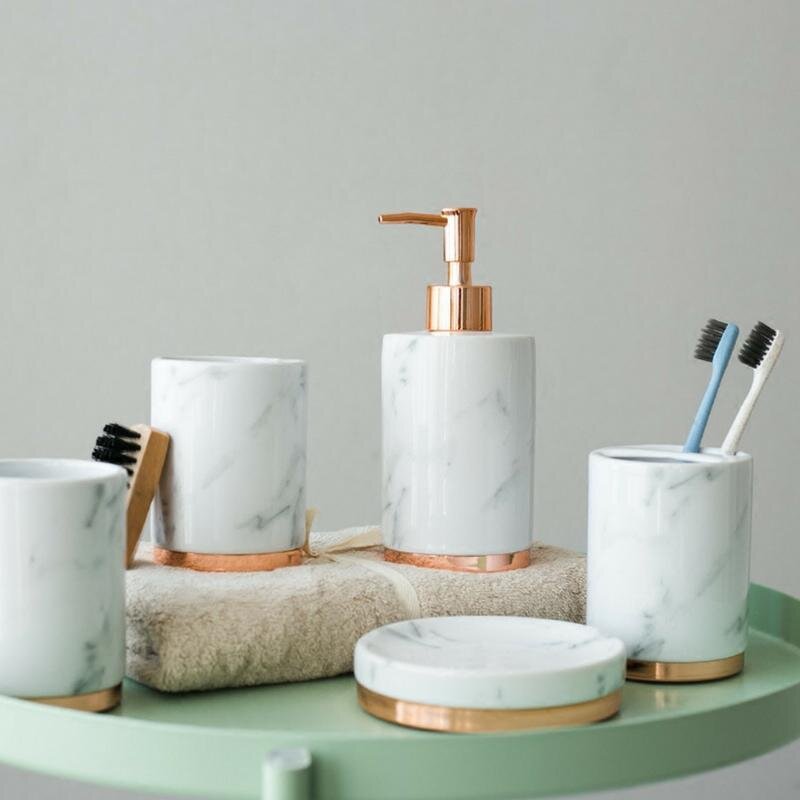
Another small thing that adds to the counter tops are matching dispensers. You can get these from anywhere just make sure you get one for your hand soap, lotion, and toothbrush. Thank me later because this matching trio will look amazing together.

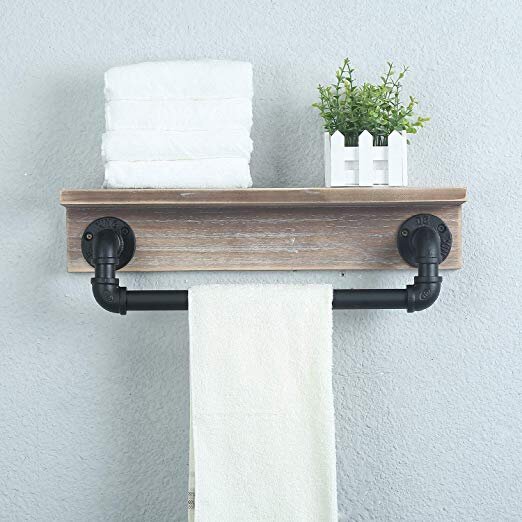
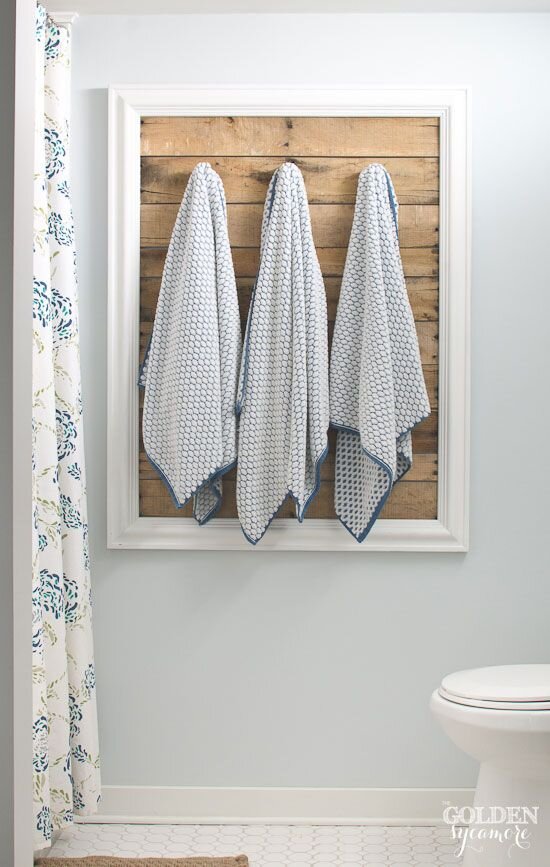
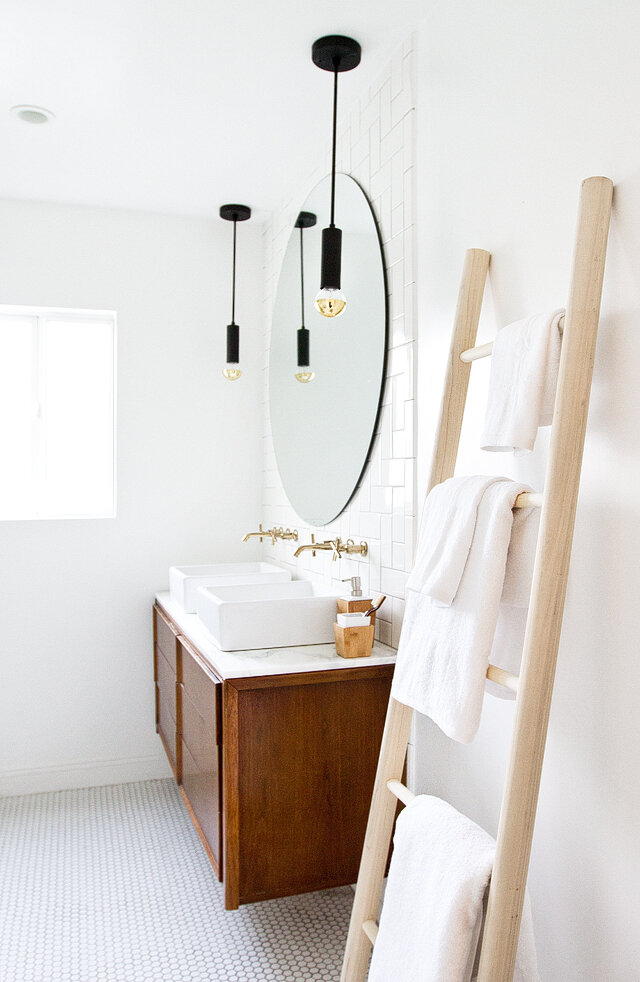
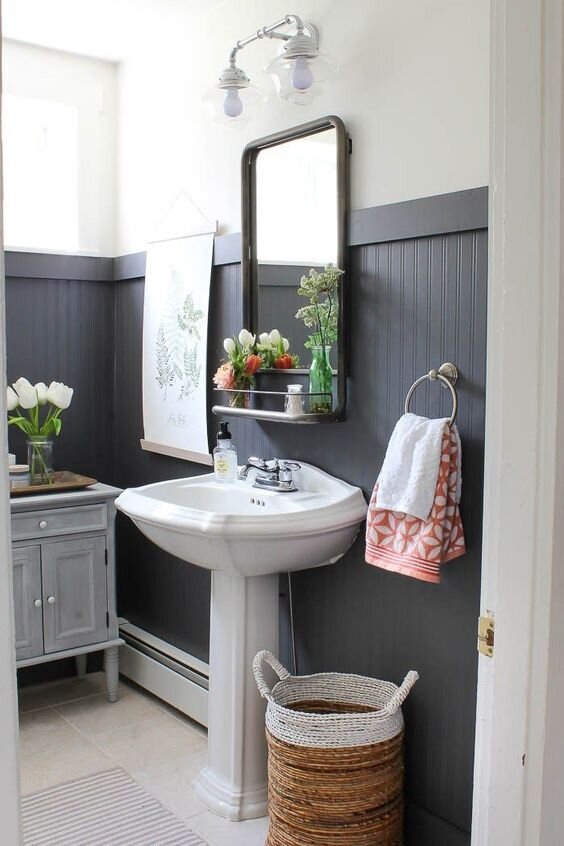
Grab a trash can and throw away the old towel rack. Go for something like this wooden rack instead. Adding some new material like a vintage wooden piece will give the room an entirely new, custom feel. The best part about this is you can go a bunch of different ways with the functionality of the piece you choose. Below are a few different styles all with various functions.

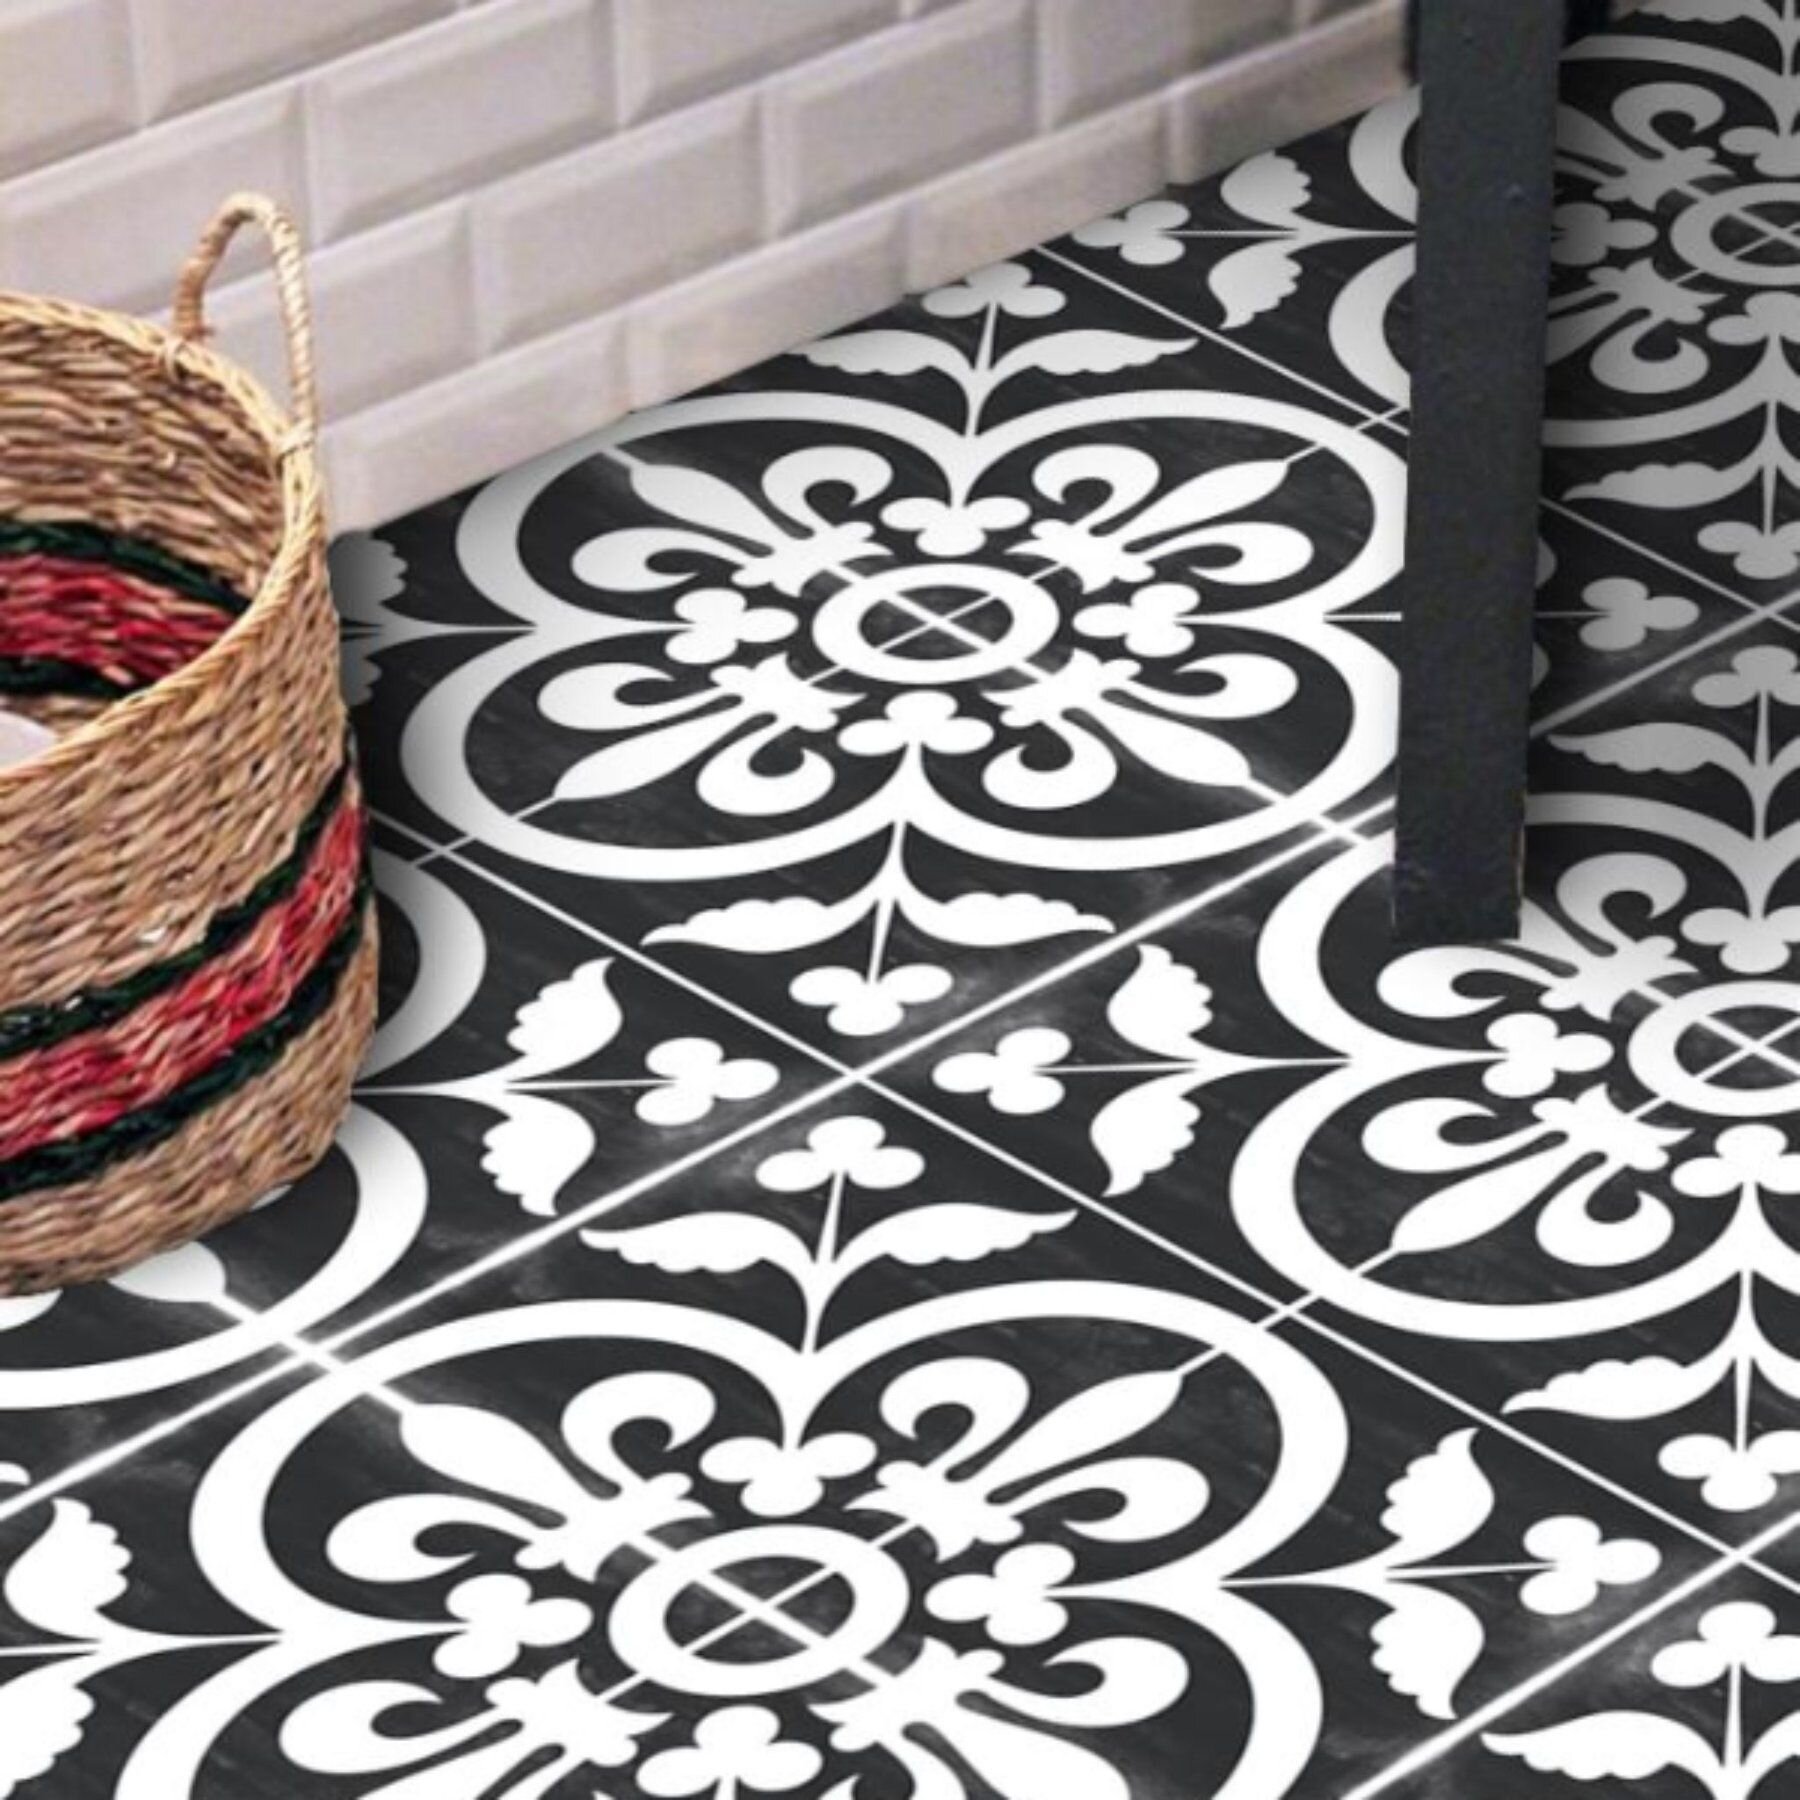
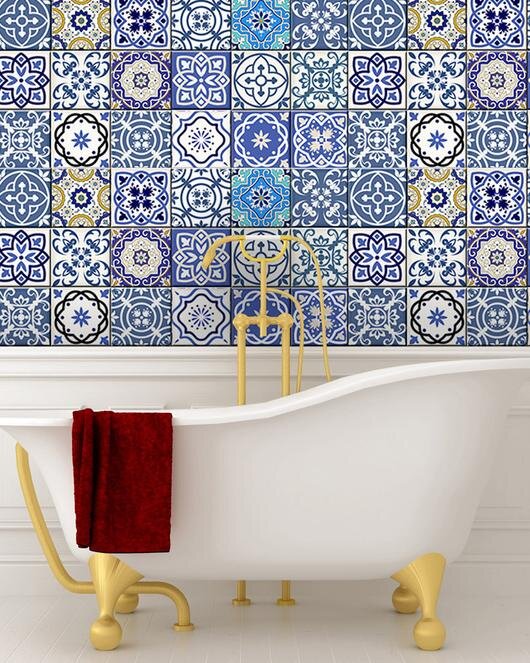
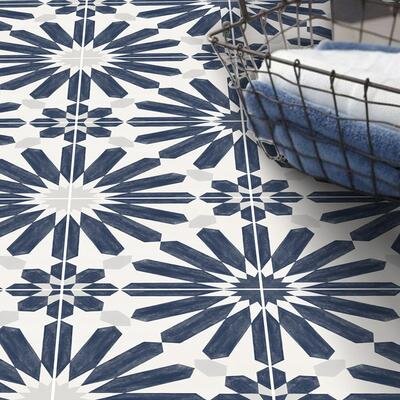
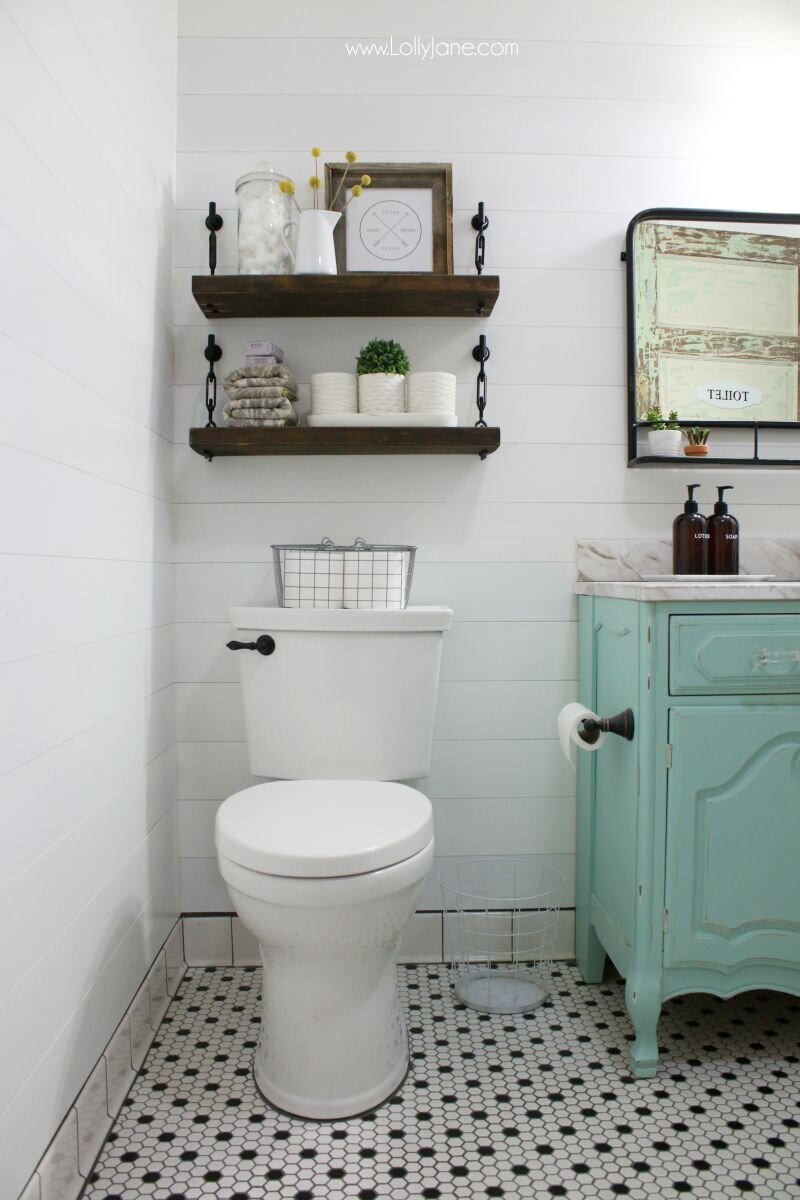
If you are a DIY maven, re-tiling a floor can be a major time commitment and hiring a pro can get expensive. Solution: Tile decals. These are one of my FAVE bathroom improvements that you can do yourself in almost no time and for very little money. Let’s dive into it- there are essentially three types of decals you can choose from… Shower, floor, or backsplash. I would recommend staying away from the shower decals just because no adhesive is going to stand the test of time when it’s constantly getting soaked in hot water. If you already love your floor tiles, go for the backsplash. If you don't want/don't have space for a backsplash go for the floor tiles (which are my personal favorites… there are so many designs online you can get really creative with this and add your own style). Etsy is the place to go if you are shopping for decals. They have hundreds of options to choose from and are priced pretty cheap. You can jump right on the cement tile party train for a fraction of the cost.

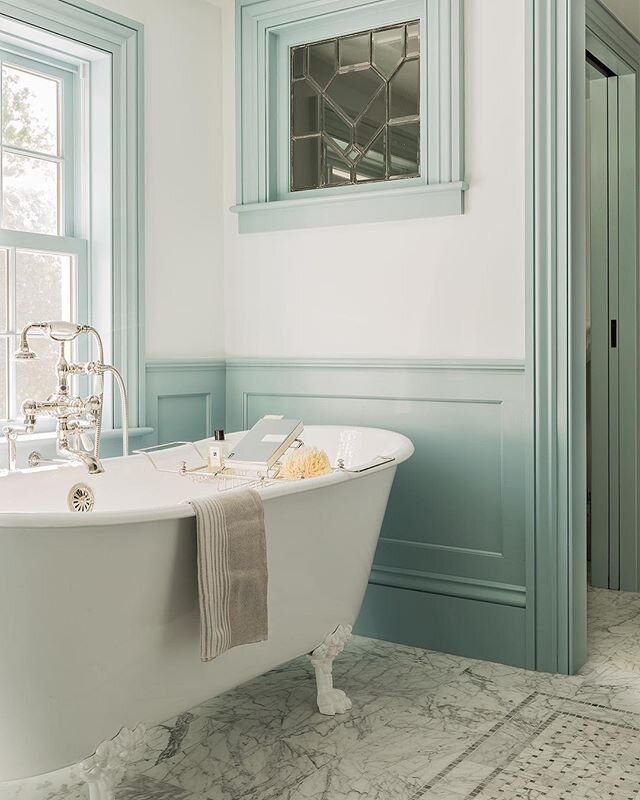
One of the bigger projects you can do is install wainscoting. Also, next time someone says “wainscoting” drop this knowledge on the word origin and you will be the HIT of your next nerdy McNerderson dinner party: the wains part is from a Dutch word that meant "wagon" and the scot part probably comes from schot, a word that means "partition." Wainscoting is the millwork/paneling treatment that lines the lower half of the walls. Although it may sound tricky don't let the word “install” scare you because it's actually very simple if you use some pre-fab. Wainscot height can range anywhere between 32 inches to 4ft, however, for a bathroom I would recommend sticking close to 36 inches. All you need to do is measure how much you need, go to the local hardware store, and put it up. Here is a step by step installation video that will show you just how easy this can be.
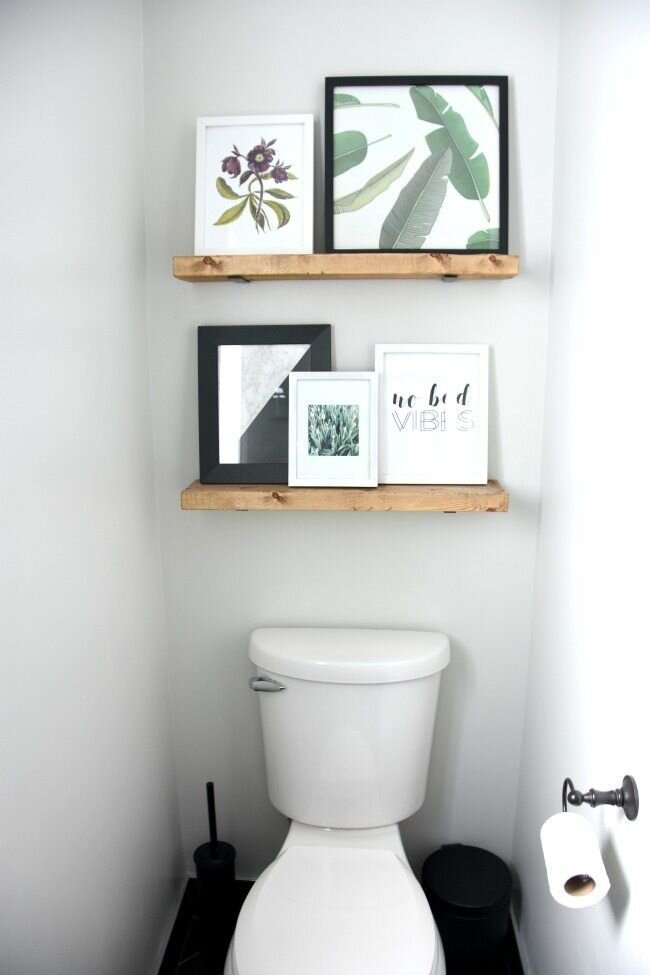
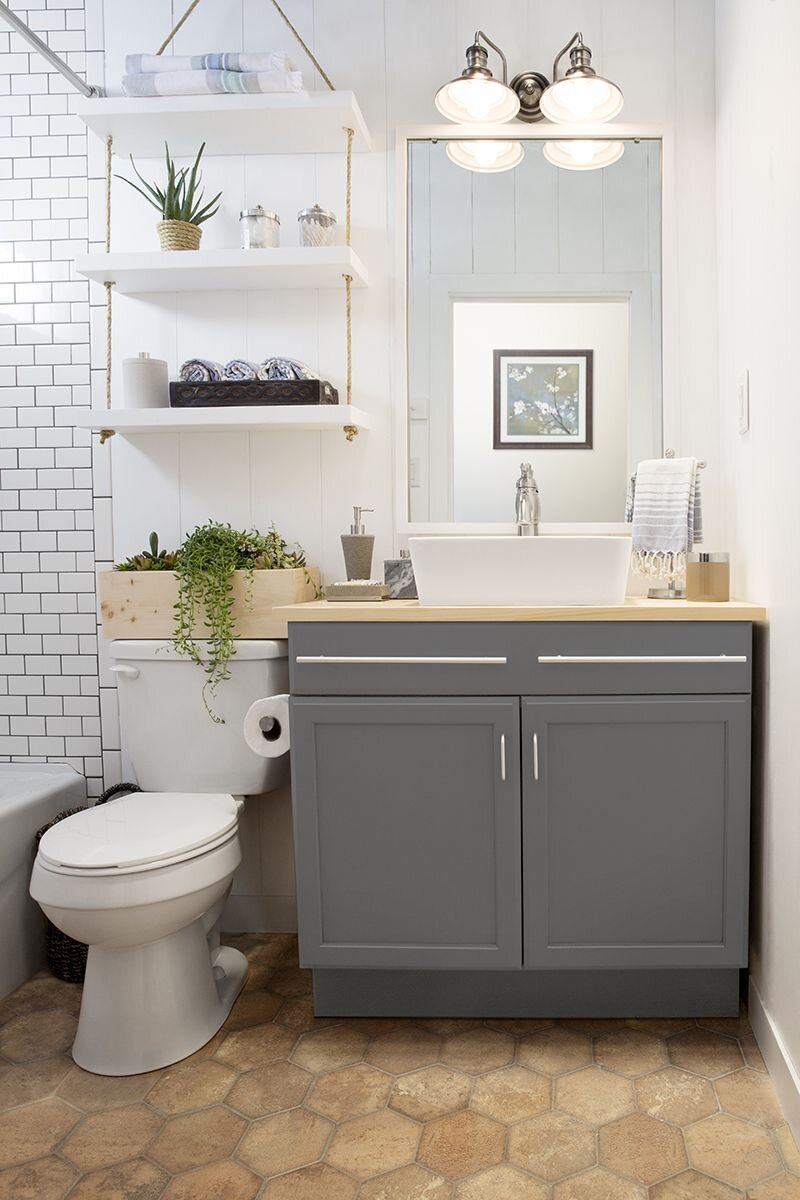
Shelving above the toilet can add the perfect amount of functionality and visual interest that a flat bathroom needs. One tip is to try and match the shelf to something that is already in the bathroom. For example, if you have colorful walls you might want a white shelf to match the toilet (that way you aren’t adding too many pops of color). Or if you have a vintage wooden towel rack, go with a wood that matches for the shelf. With these shelves you can make your Pinterest dreams come true by adding some aforementioned succulents, a basket for TP, or a nice handmade sign that says “get naked” if you like to keep it weird or, my personal favorite, “nice butt”. Because who doesn’t need to read that daily affirmation?! For the DIY designer, look up how to make your own shelving and you will be surprised at how easy it can be and you can feel like you did a thing alllll by yourself.

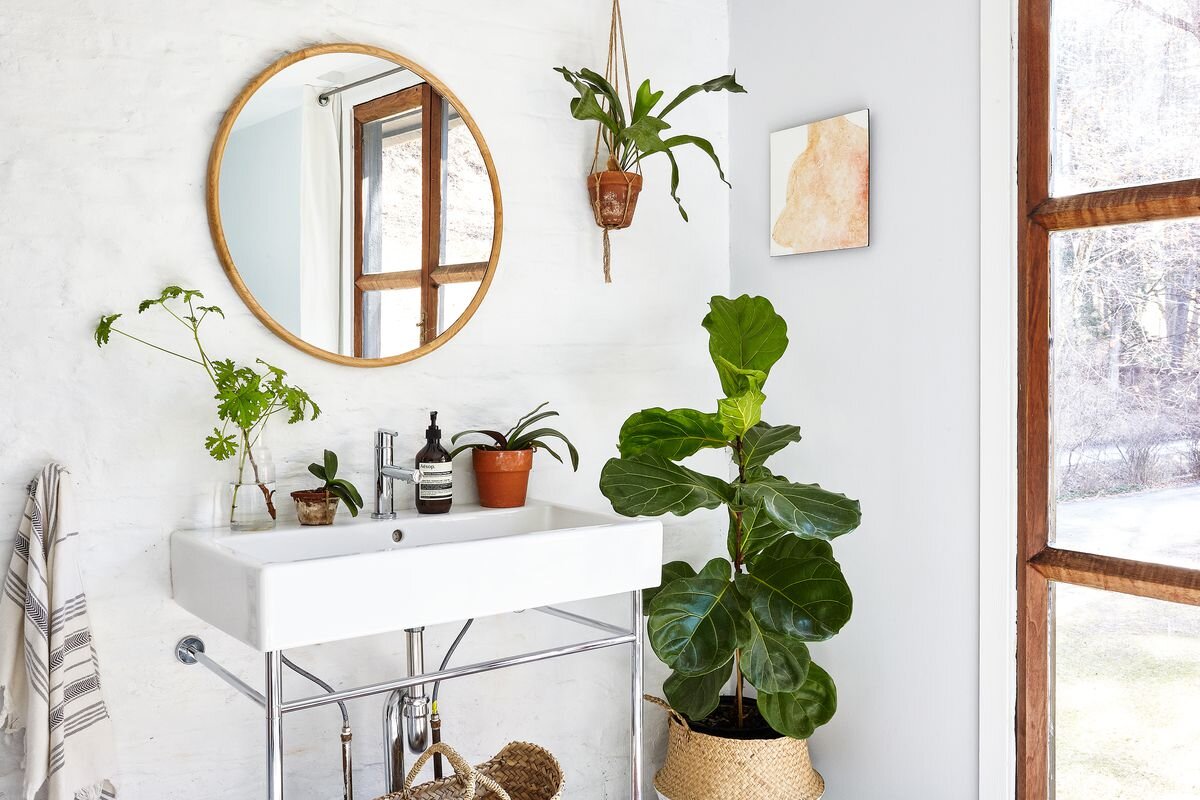
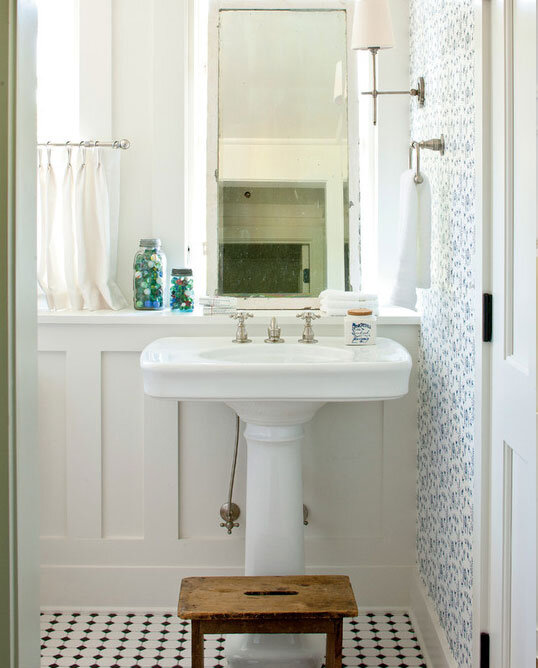
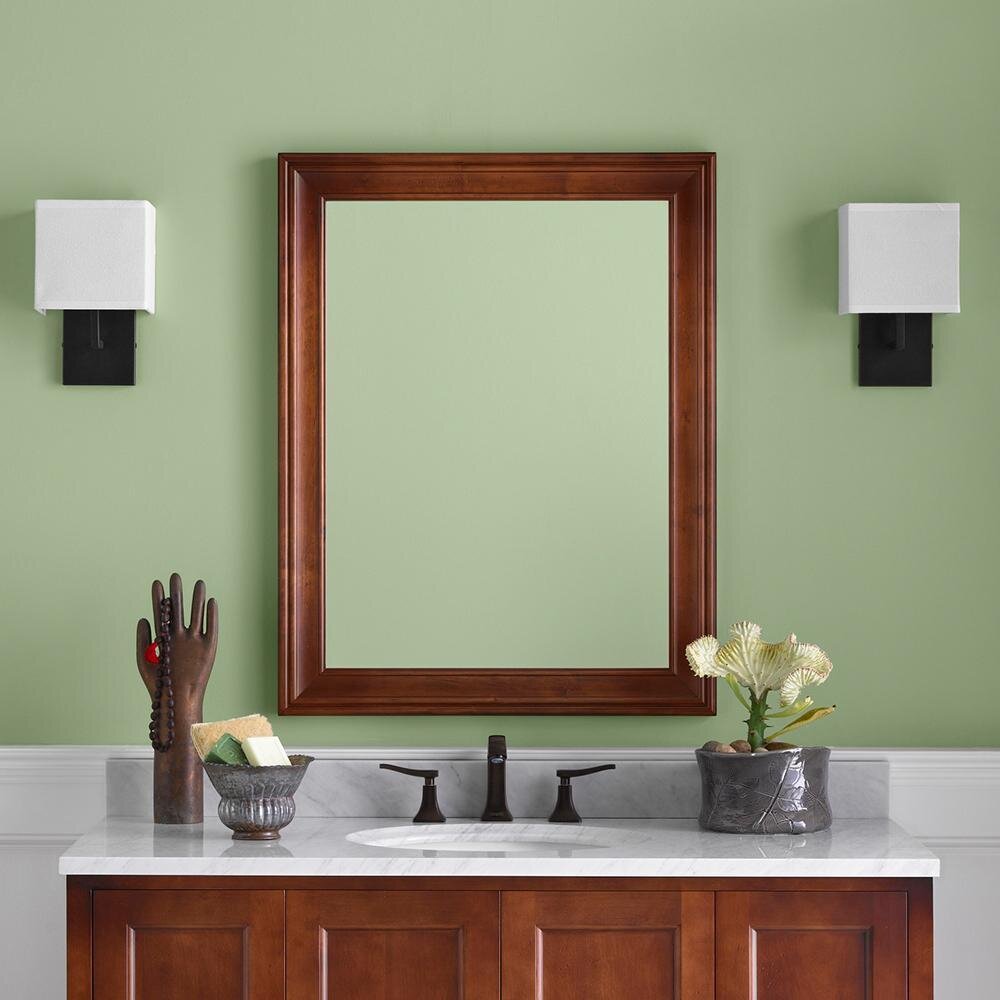
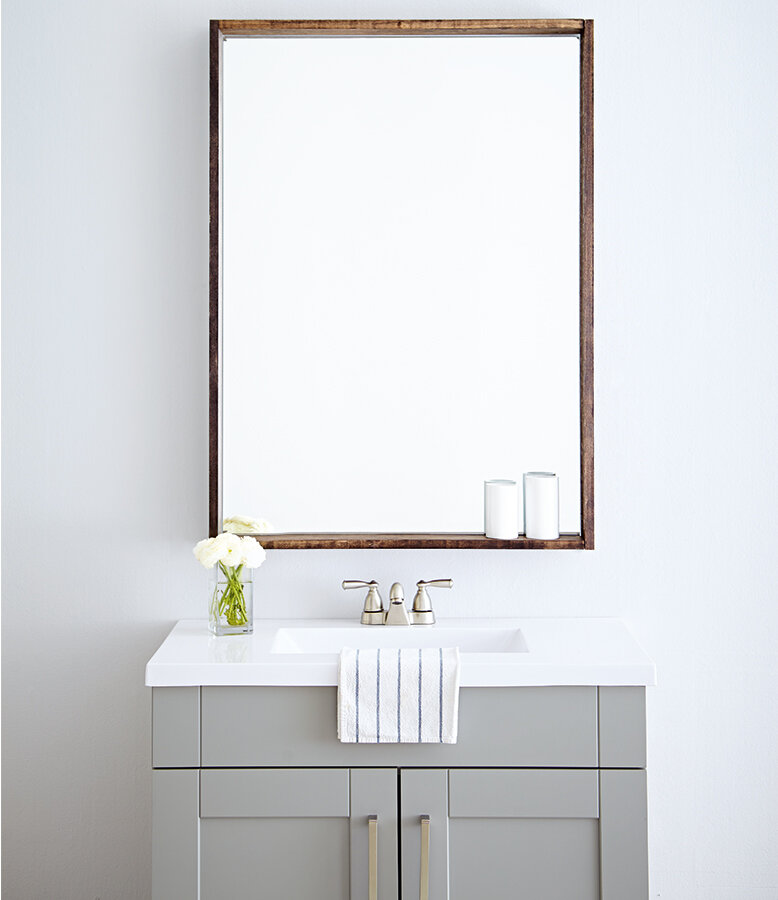
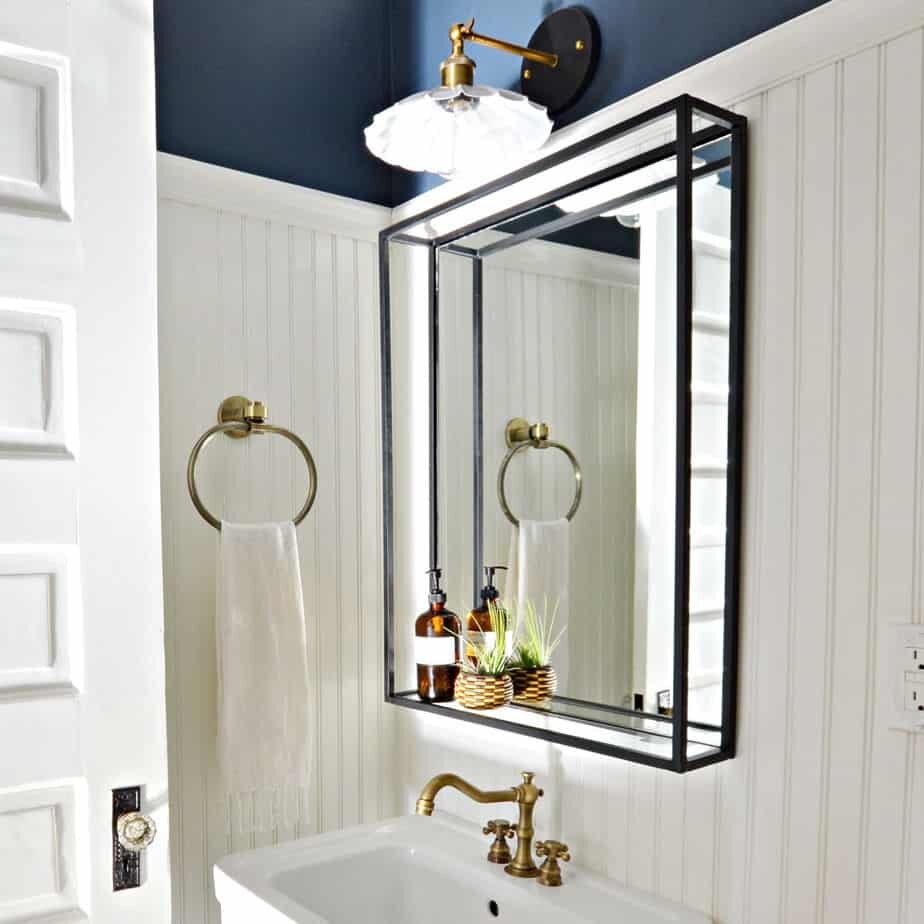
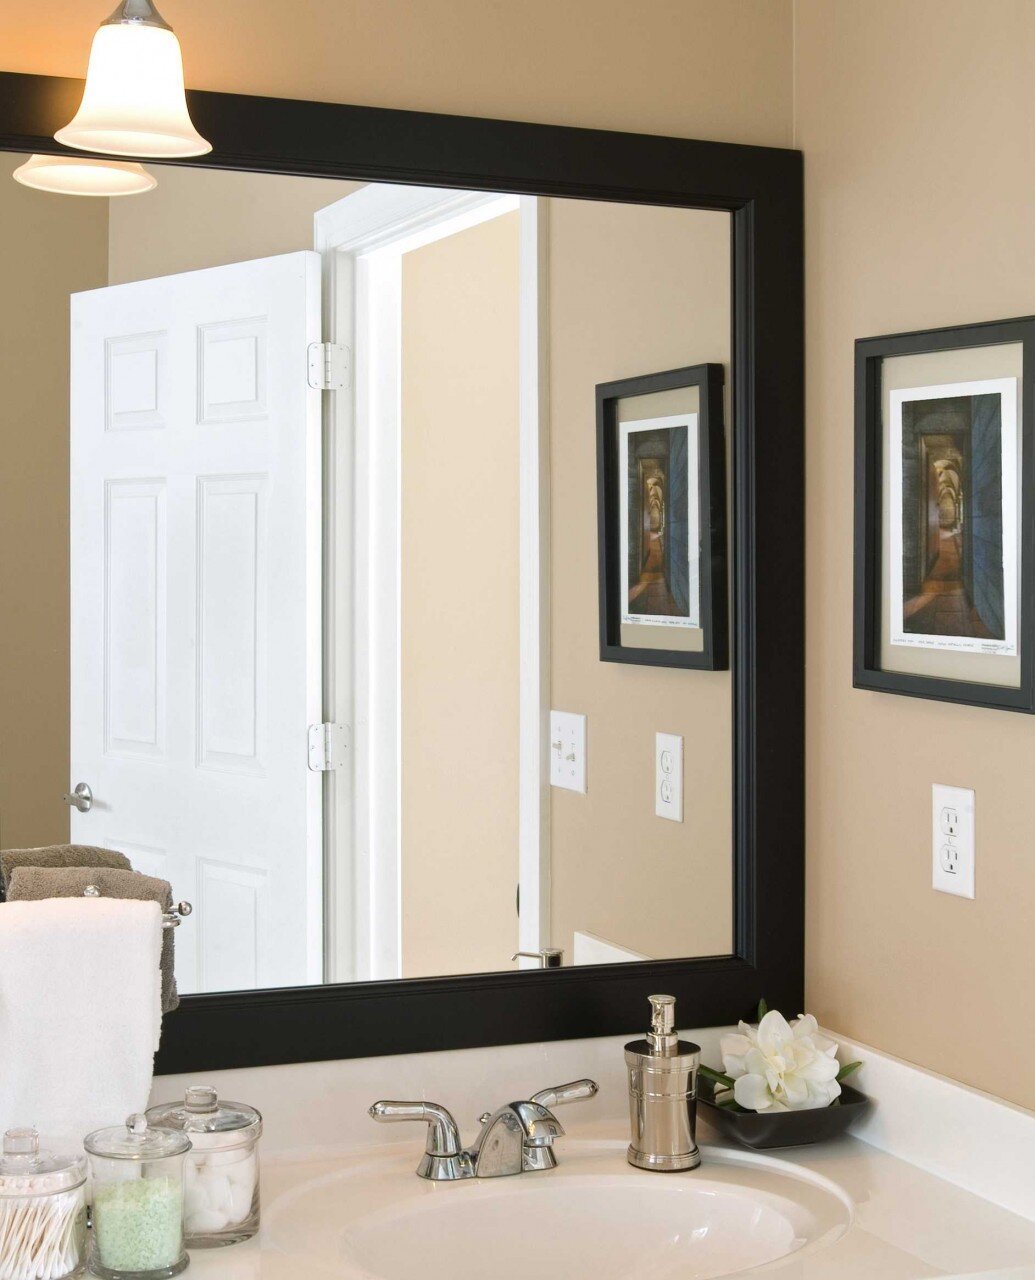
Upgrade your mirror. Like, RIGHT NOW. Sometimes this means scrapping the old one and having to purchase a new one. However, framing can also be an option here with the right mirror. Adding a frame can take your basic mirror to a new level. Take a look here at a previous blog post about new mirrors, or if you are looking frame, click here to look at MirrorMates options. If I were to give 2 areas to upgrade to elevate the space beyond builder-grade, it would be mirrors and light fixtures. Get creative! Do something FUN! It will be sure to make a splash (bath pun— you’re welcome).
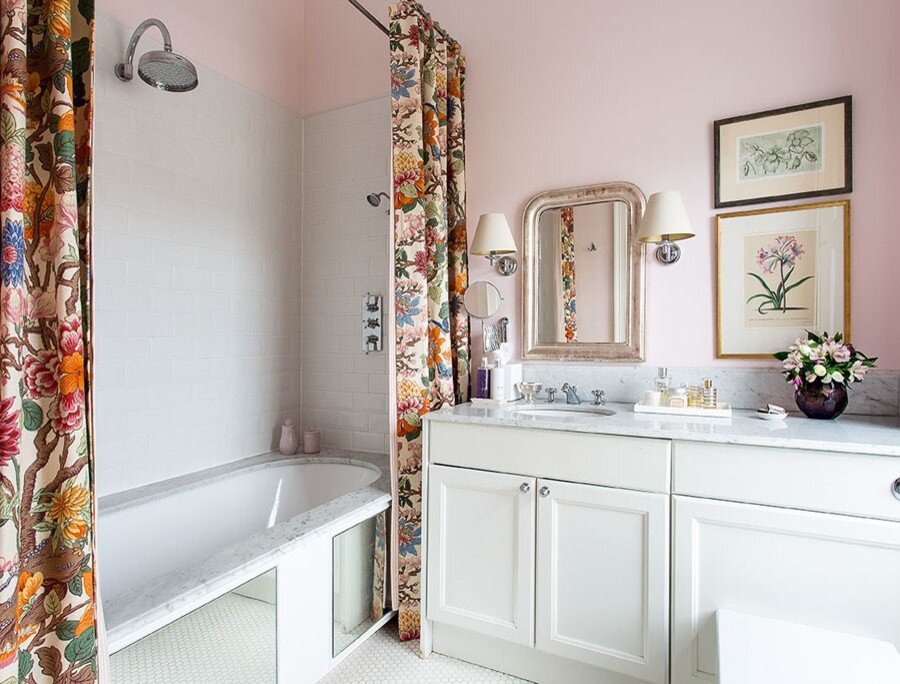
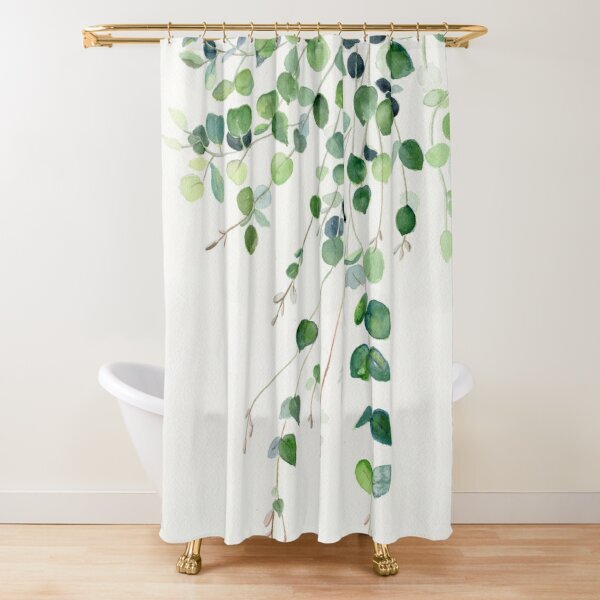
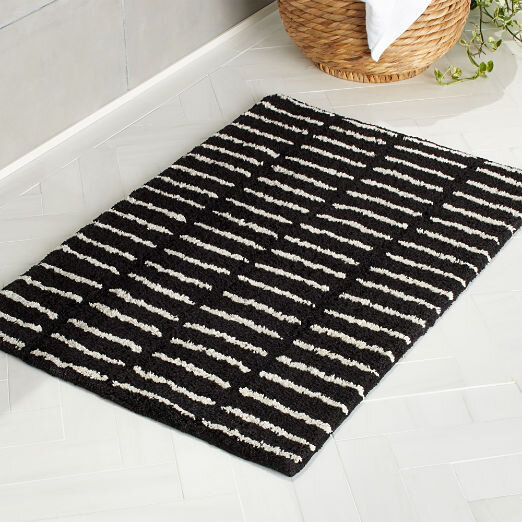
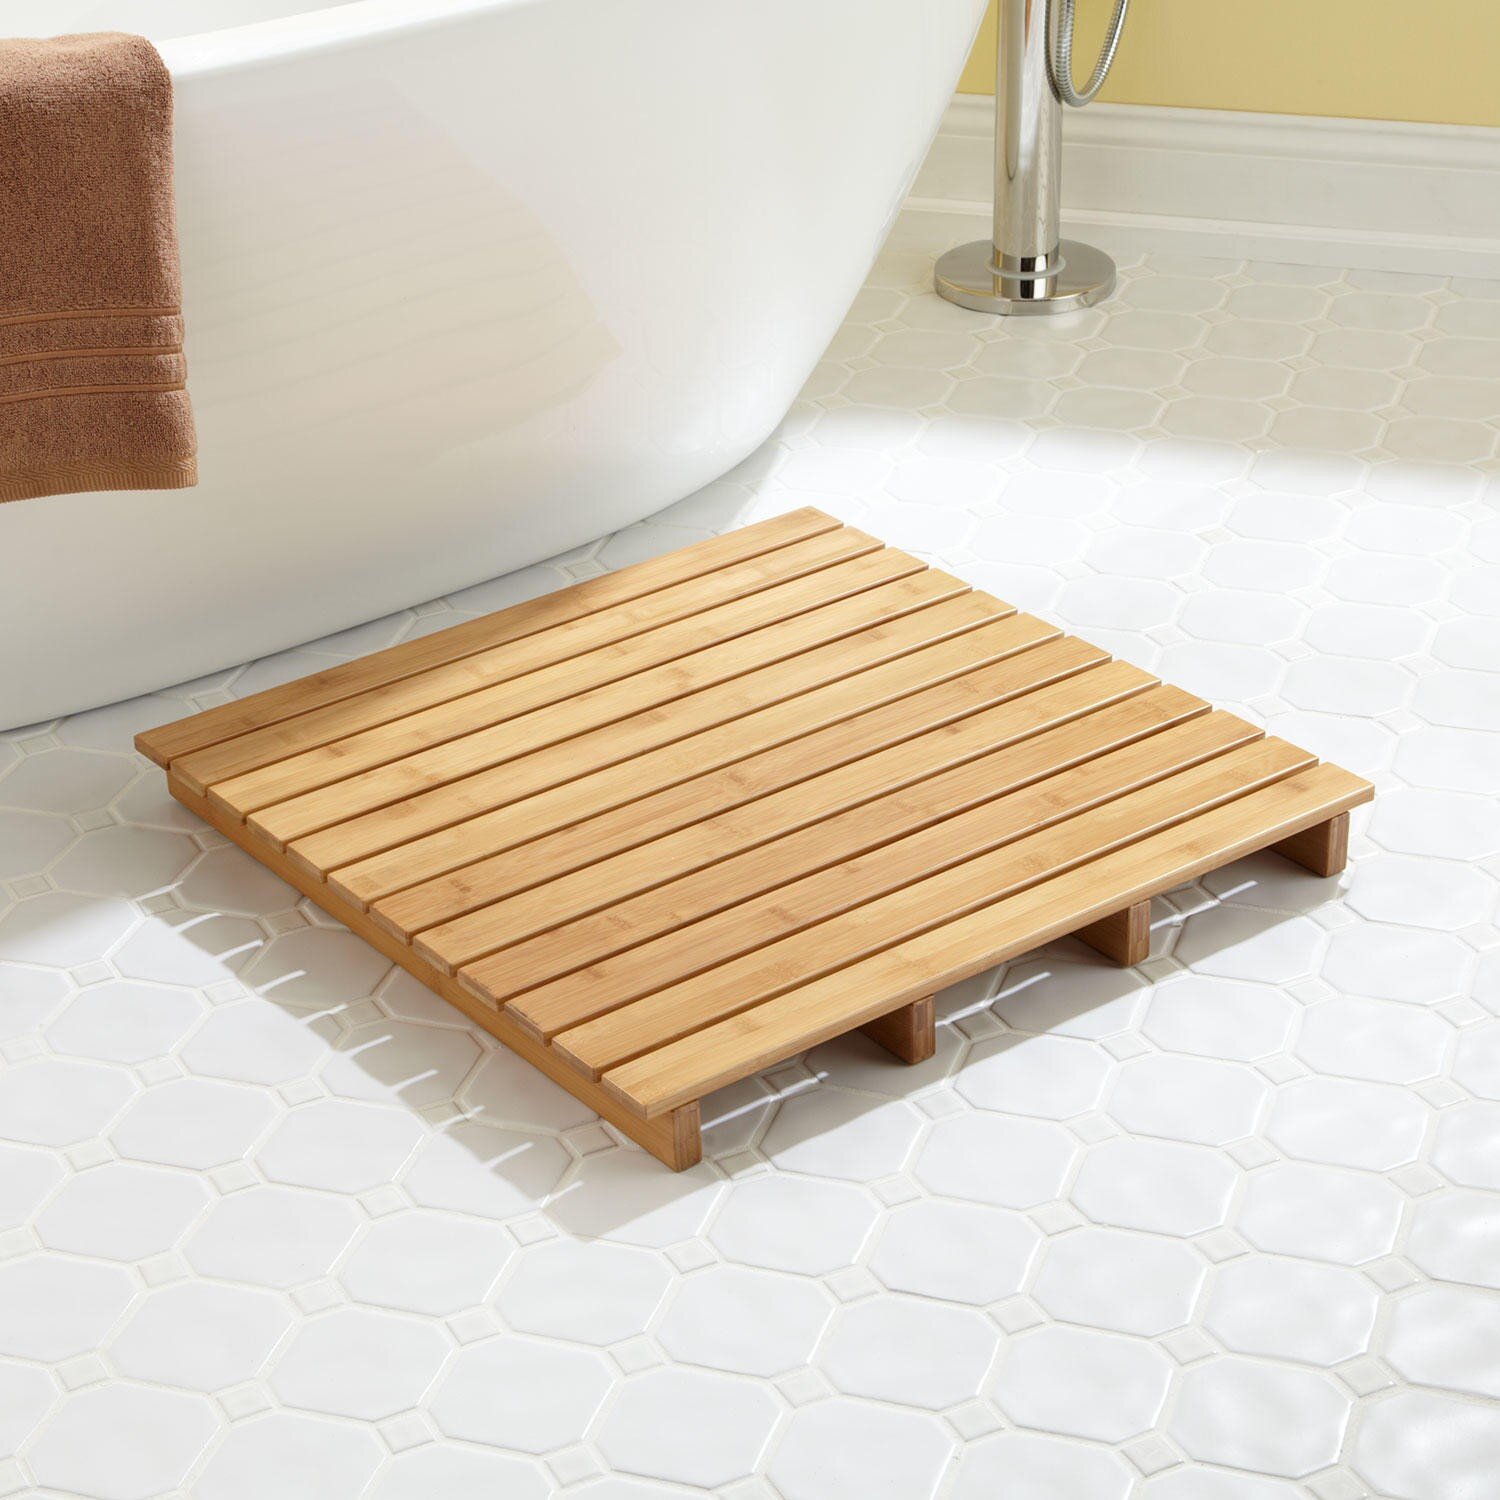
Going back to something simple, fast, and budget-friendly, get a new bath mat and shower curtain. You can find these anywhere online with every pattern or style you could imagine. I love Target’s Opalhouse line and Urban Outfitters always has some really punchy ones. This is another great way to add your own personality to the space or a pop of color. The dual curtain is a look that you won’t see in many bathrooms. I like this look because it is unique and pulls from a French aesthetic. Could be super fun in a guest bath! As for the bath mat, if you are like me and hate the feeling of wet feet on a carpet after showering, take a look at this bamboo mat. Not only is it eco friendly but goes great with a minimalistic or earthy look.
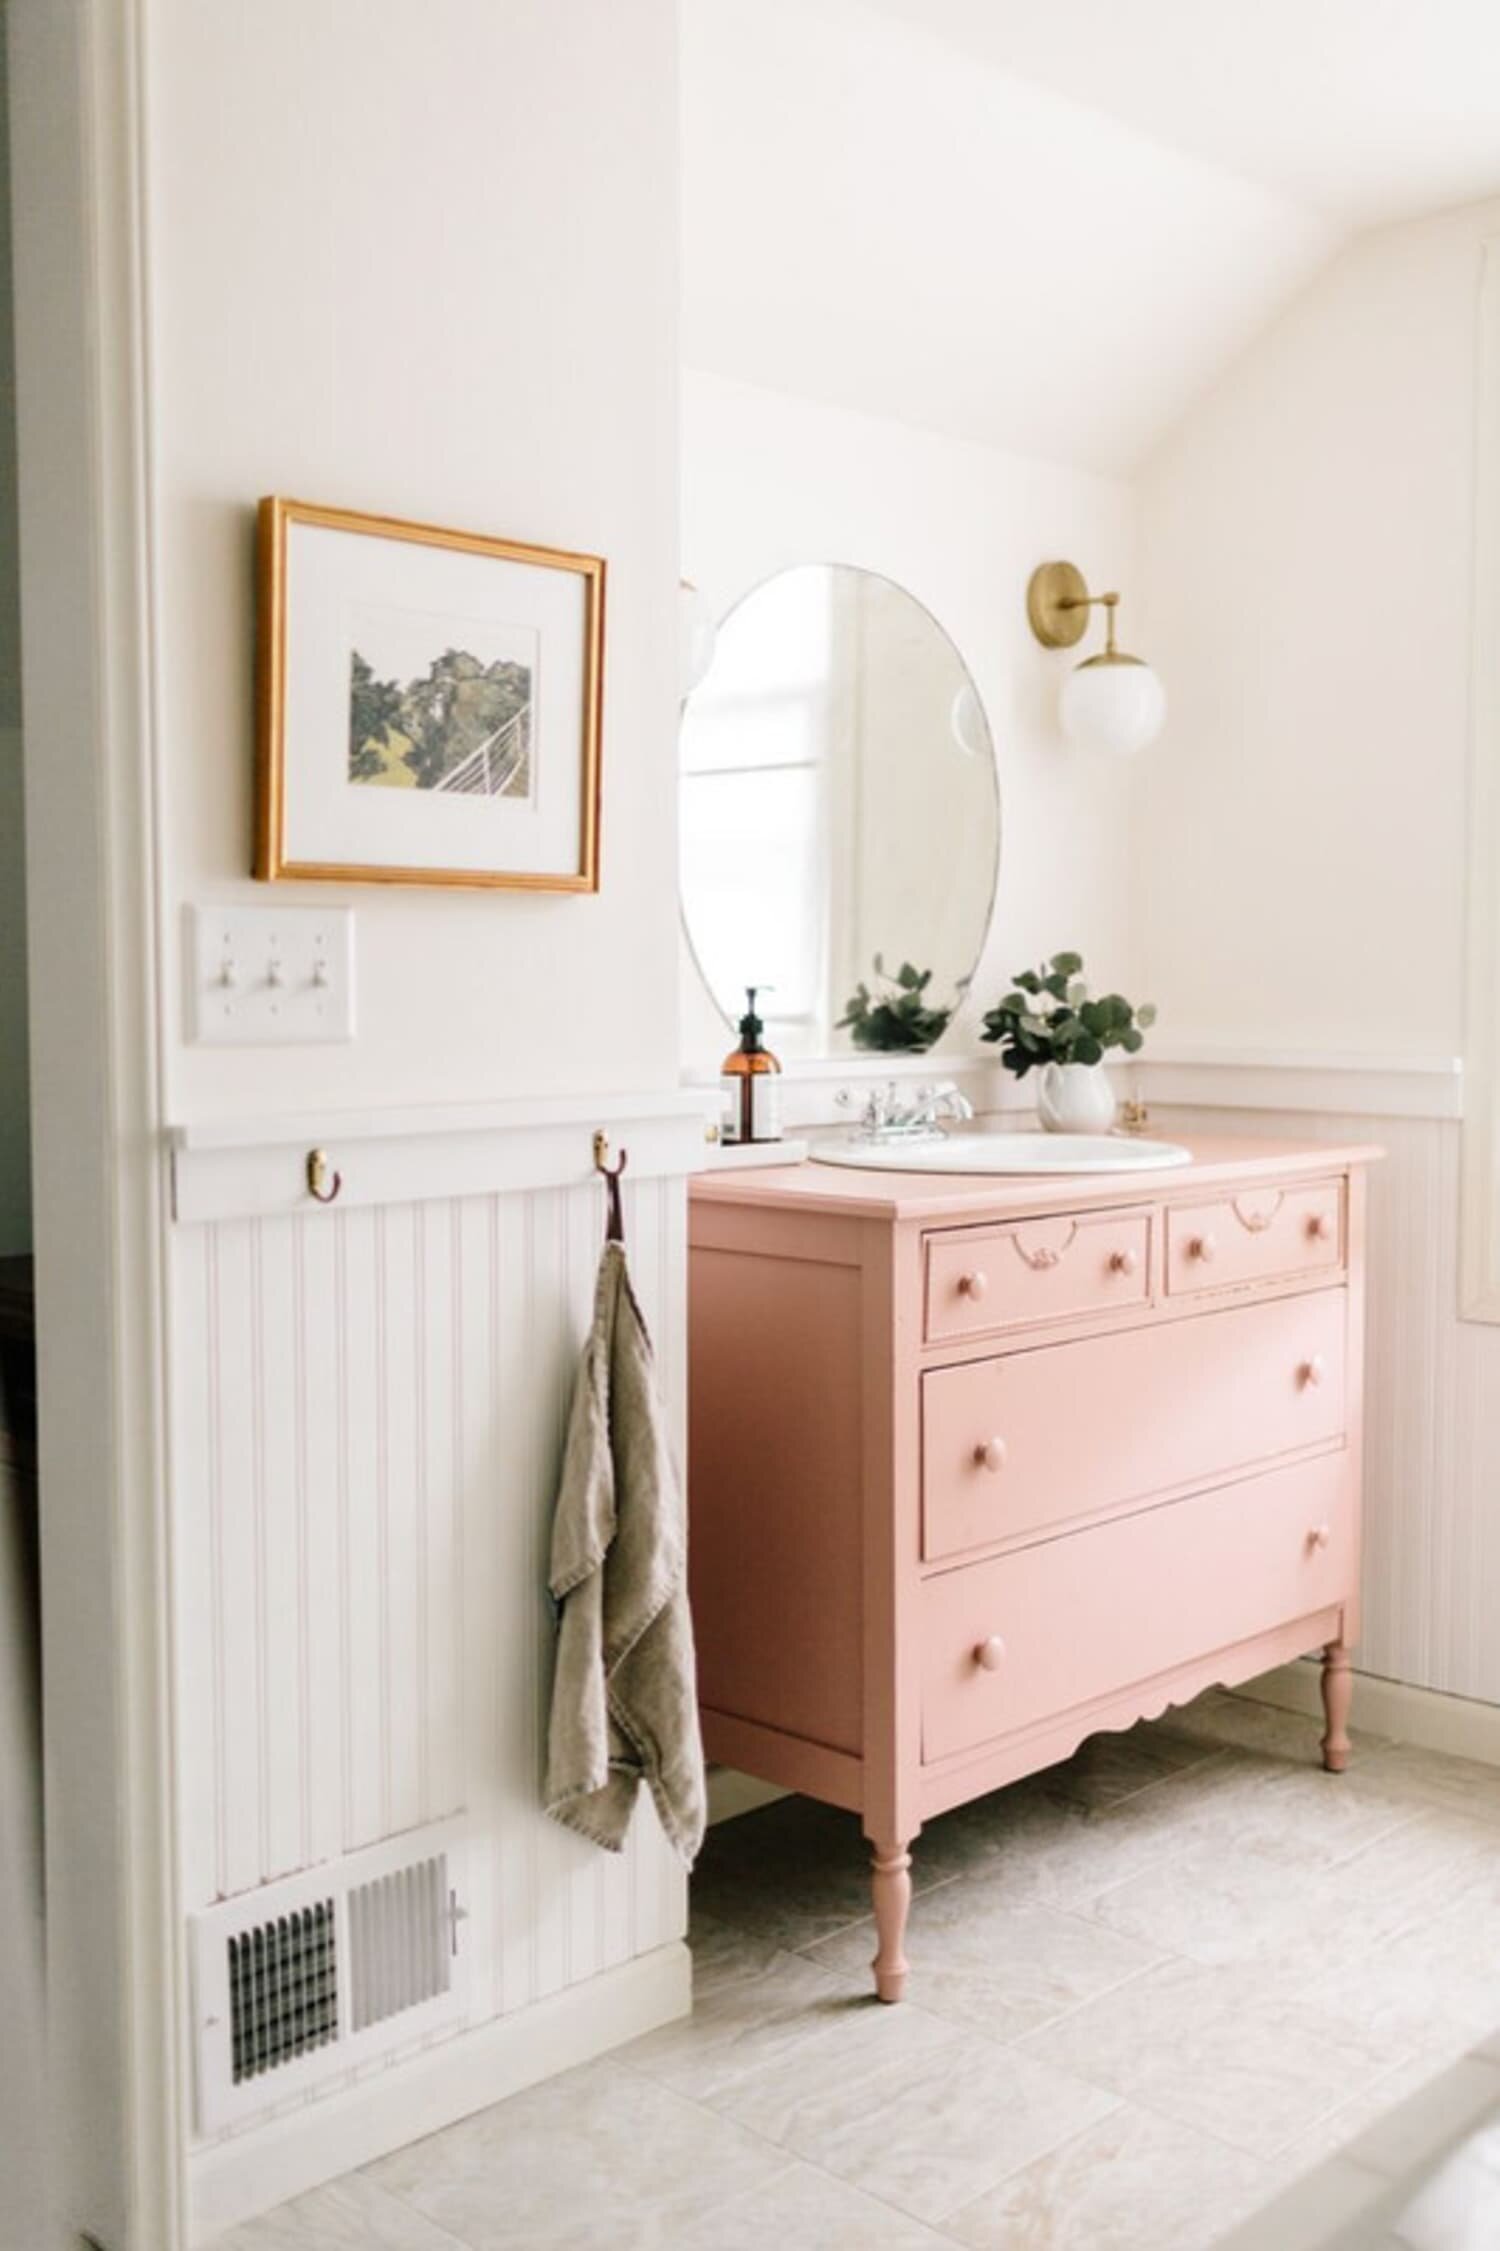
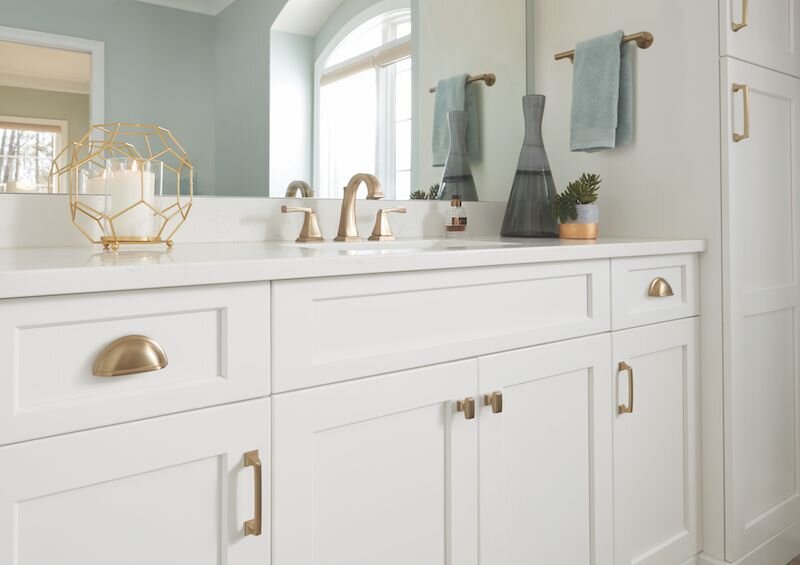
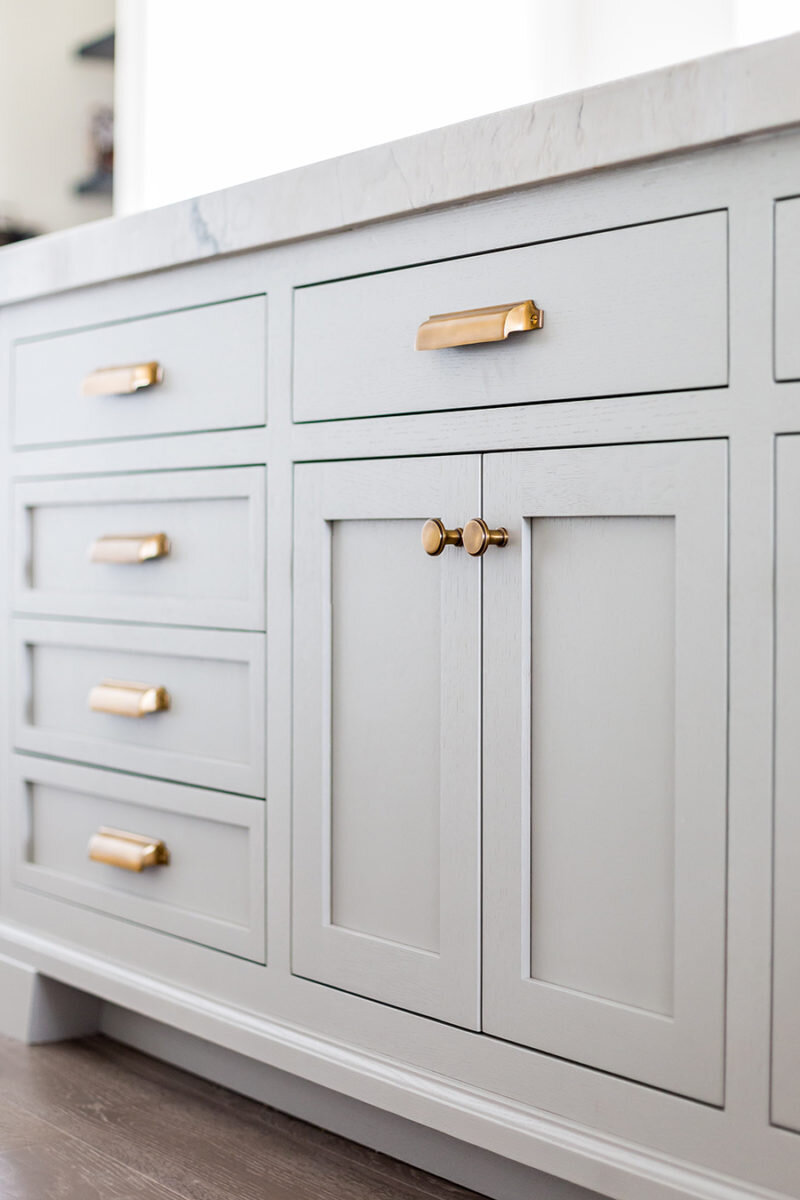
Another option that takes a little time would be upping your vanity game with some new hardware and/or a fresh coat of paint. Getting rid of cheap or dull looking handles and replacing them with gold or black finished ones can do wonders. While you have the hardware off you also might want to consider re painting the cabinets… maybe go for a new color or even just refreshing the old one.
Tip for repainting- For cabinets that have previously been painted, be sure to give them a good sanding to ensure your new paint properly bonds to the surface. Don’t cheap out on the paint here- get quality! If you’re painting wood cabinets, apply an oil-based stain blocker, 1-2 coats, and once that dries you must thoroughly sand them and 2-3 coats of a top notch finish paint.
Tip for installing hardware- Make sure the screw alignment of your new hardware matches the existing holes. This is going to save you from having to drill new holes in the cabinets.


I hope you can find some inspiration from this post and start turning your bathroom into your own mini spa. Feel free to leave your comments on what you did to upgrade your bathroom- we would love to hear your feedback and what worked for you!
Cheers!