
I wanted to kick off the blog with one of the quickest and easiest DIYs that I have ever done: Copper pipe curtain rods. I am notoriously impatient when it comes to decorating. If I have an idea, I wanted it done, like, yesterday. So anytime there's a Pinterest DIY that actually turns out great and takes little time and money, I am in.
Now, curtain rods in general just make me angry. Why? Because if you're furnishing a whole house, you need a bunch of them and the costs just totally add up. $40 even for basic, crappy ones... multiply that by 15 windows and my bikini-clad bum could have been parked on a beach somewhere tropical for that price!
I love copper and rose gold. I think the tone is such a fun metallic pop in spaces. I am the person that buys Moscow Mule mugs as decor. I don't *actually* drink out of them but they look purrrdy. Copper pipe curtain rods certainly aren't for every space, but they are super versatile. They can work well in everything from rustic farmhouse, to industrial, to contemporary, to boho chic, to modern/minimalist...and so much more!
Another bonus? Copper plumbing pipes are super easy to find. Head to your local Lowe's or Home Depot and hit the plumbing section. And don't worry- they are used to these pipes being used more for home DIY projects than what their actual uses are. So don't be afraid to ask for help! The total cost of this DIY will range depending on the width of your rod and the diameter, but it should be somewhere around $15 or less per rod, plus a pipe cutter for $10-$20.
Step 1: Pick your copper pipe diameter. I usually use 1/2 inch or 3/4 inch but this is totally your preference based on the space they are going in.

If you're doing just one window you can probably get away with a shorter length of rod. But if you're doing multiple windows, I recommend getting the 10' rods and then cutting them down to the sizes you need. But some quick math on cost and length should let you know what the best bang-for-your-buck is. You do want to allow for some overage on each end where the hangers and end caps will sit since your curtains will be hanging inside of that and they won't be able to slide all the way to the end. Oh and they are like $11 for 10 feet. Shut up and take my money.
Step 2: Grab a pipe cutter tool. They range in price from about $10-$20 for what you would need for the project. Just make sure the one you pick cuts the diameter of pipe that you selected. They are adjustable and fairly easy to use. Best bet if you're looking for direction is to look on YouTube for a video on how to cut a copper pipe. There are tons of 30 second tutorials showing that it's pretty simple. Beware: sometimes your freshly cut pipe will have sharp edges! That's why the end caps are clutch.

Step 3: Get some end caps. Just make sure that they are the the same diameter as the rod. So for a 1/2 inch rod get 2 half inch caps per curtain rod. These are usually in bins right next to the rods.

Step 4: Hanging hardware. I prefer using these bell hangers, but you can pick something else. They are pretty simple to use and tighten with a screw around the rod. I do recommend using a drywall anchor into the wall before screwing them in through the middle hole, but that's just me being overly technical and cautious. Tip: You can also use other hanging hardware and spray paint it copper.

Step 5: Buy Scotch-Brite scouring pads, Goof Off, and possibly ketchup or nail polish remover. No, this isn't to make the most disgusting recipe in history. You want those super thin green scouring pads to scrub down the rods. They will have some writing on them and- the worst part- sticky sales tags. While I have found that the scouring pads are abrasive and leave some fine scratches, you cannot ever see them once they are hung on your wall. And then the ketchup afterwards will help buff them to a pretty shine. Some say nail polish remover does the trick, too, though I have never tried it. This part gets a bit messy, so make sure you're in a good area to do the scrubbing. (Scotch-Brite scouring pads not pictured)

Step 6: Pick some awesome curtains. You just saved a whole buncha money on your curtain rods. So maybe spend a few of those dolla dolla billz on curtains. Great curtains are EVERYTHING. They make or break a room in my opinion. I actually currently have some place-holder curtains in my house until I find the perfect fabric and even though they match the room, they depress me. Great curtains are integral to completing the design of a space. More on this in a future blog post! But my favorite, most economical basic curtains are the Cameron ones from Pottery Barn. The quality is great- they look and feel more expensive than they actually are. They are currently offered in gray, white, and off-white. https://www.potterybarn.com/products/cameron-cotton-drape/
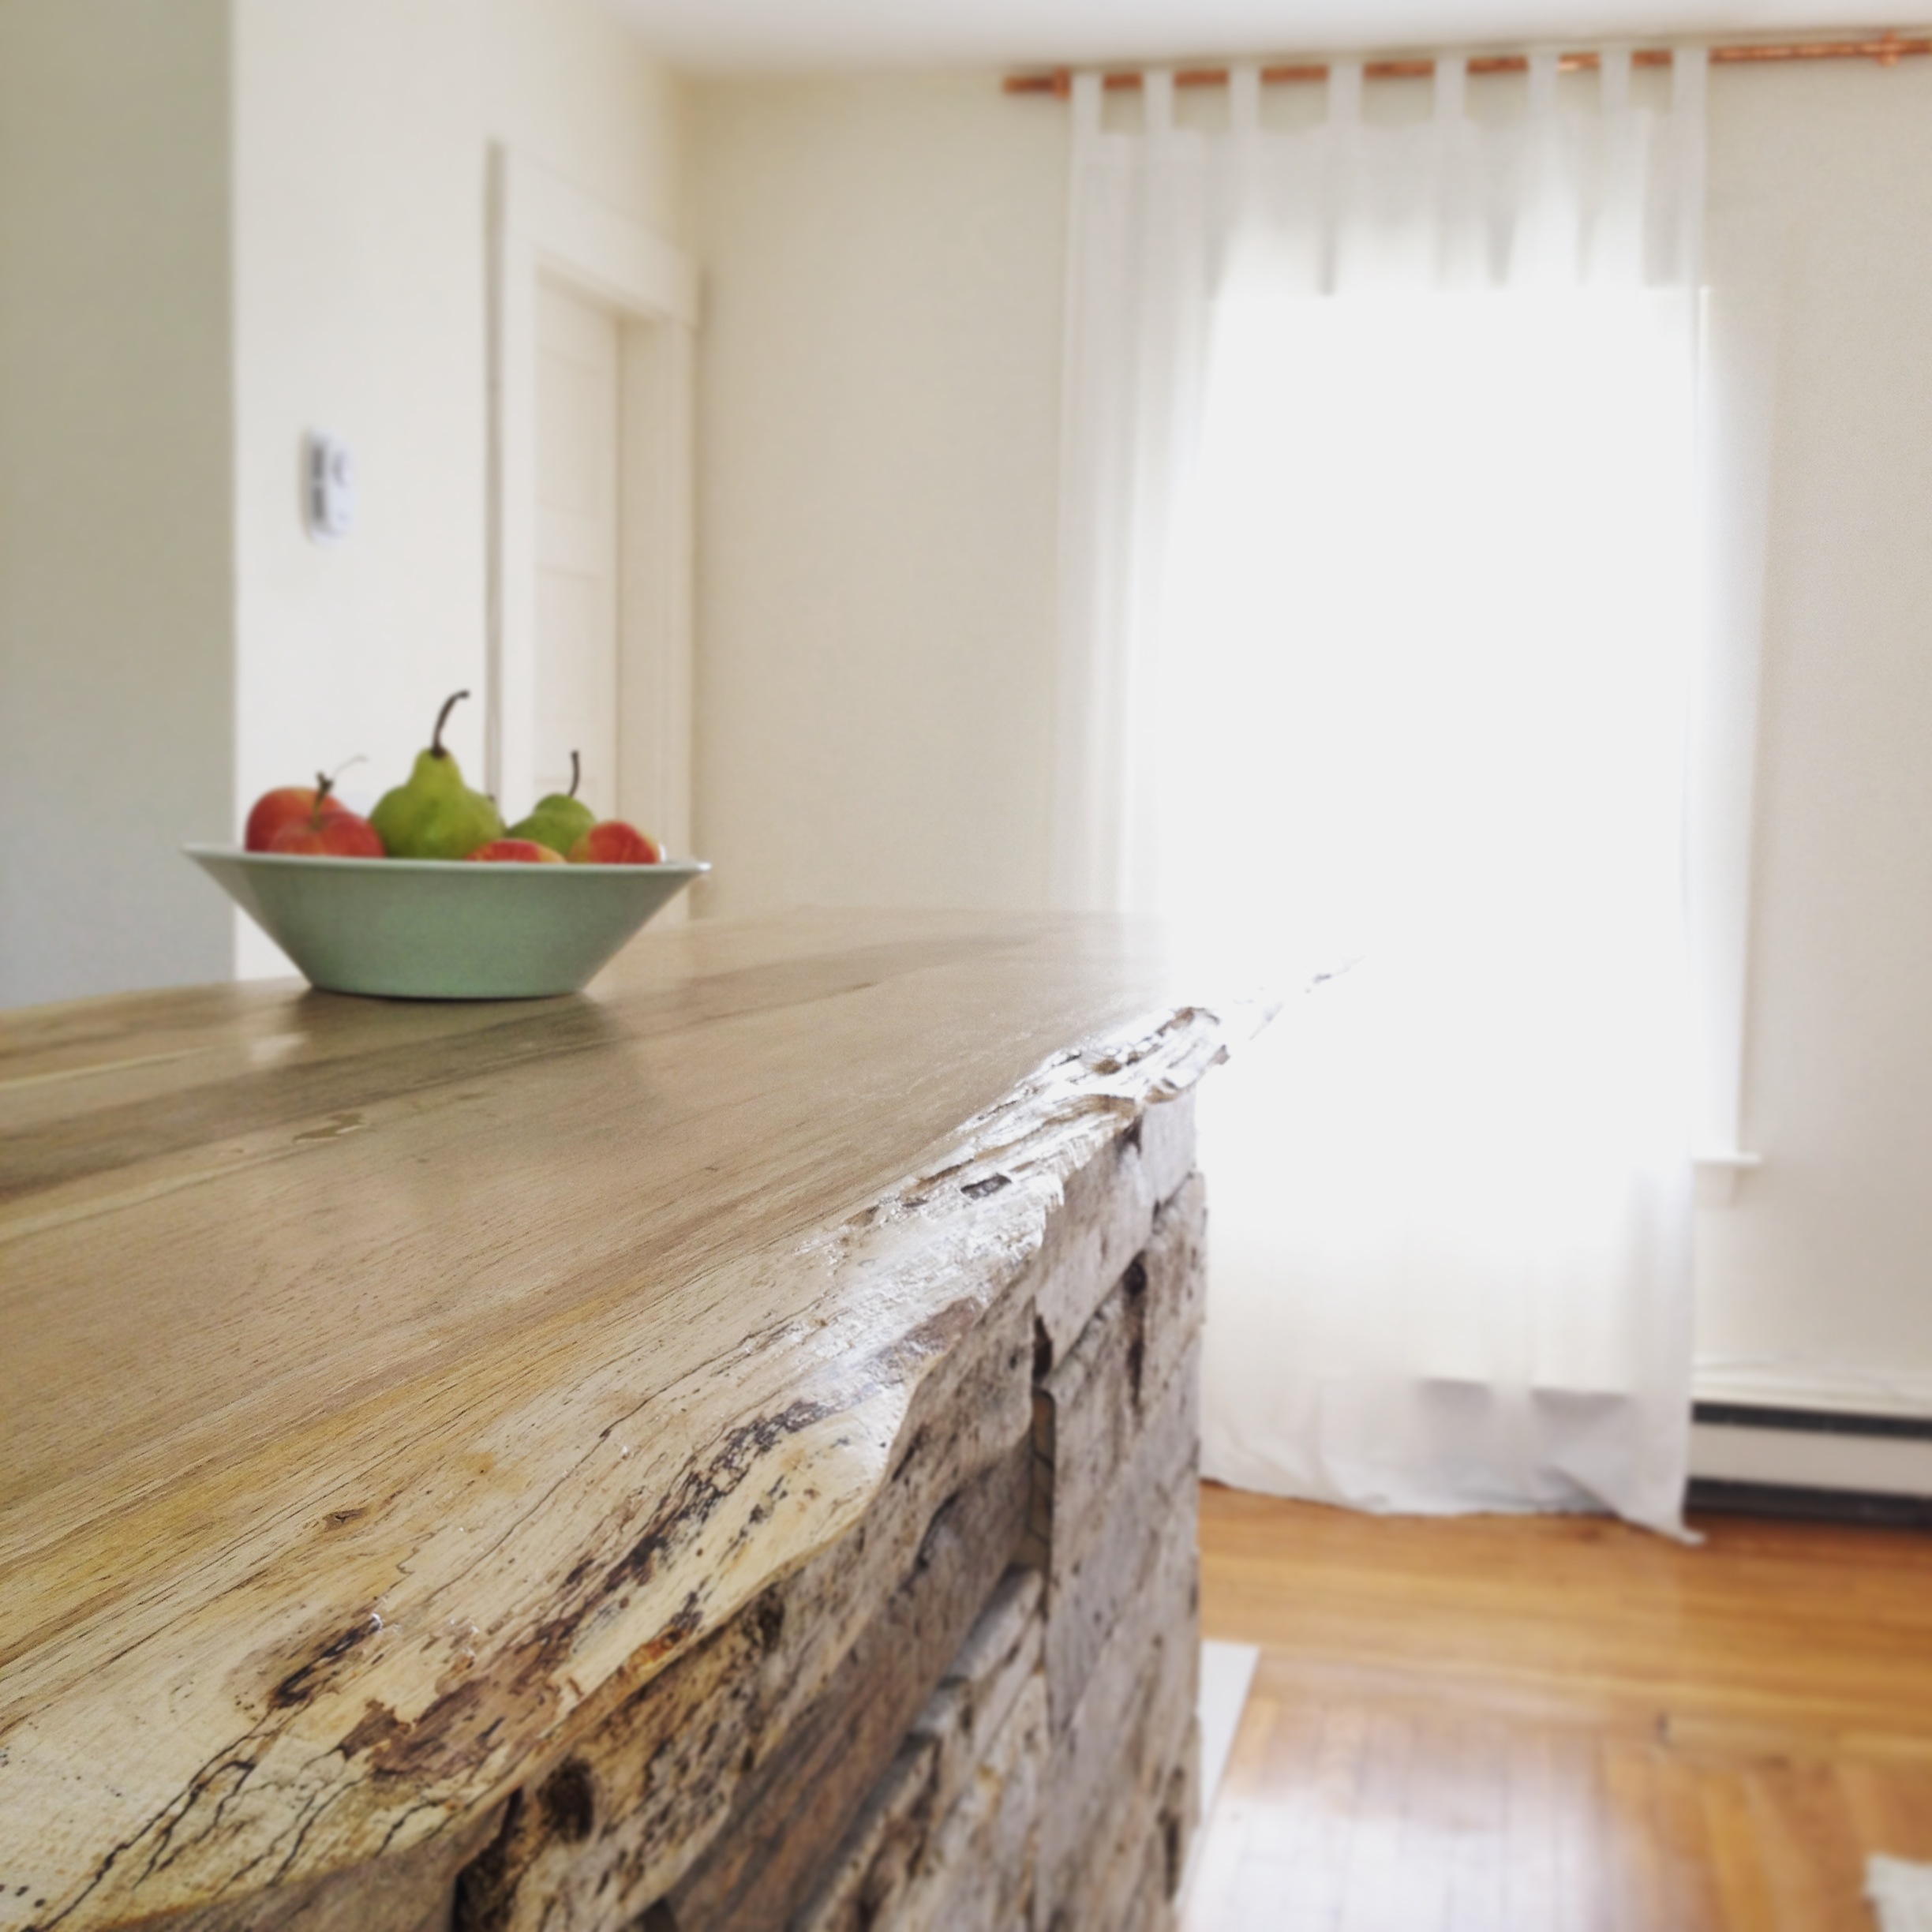
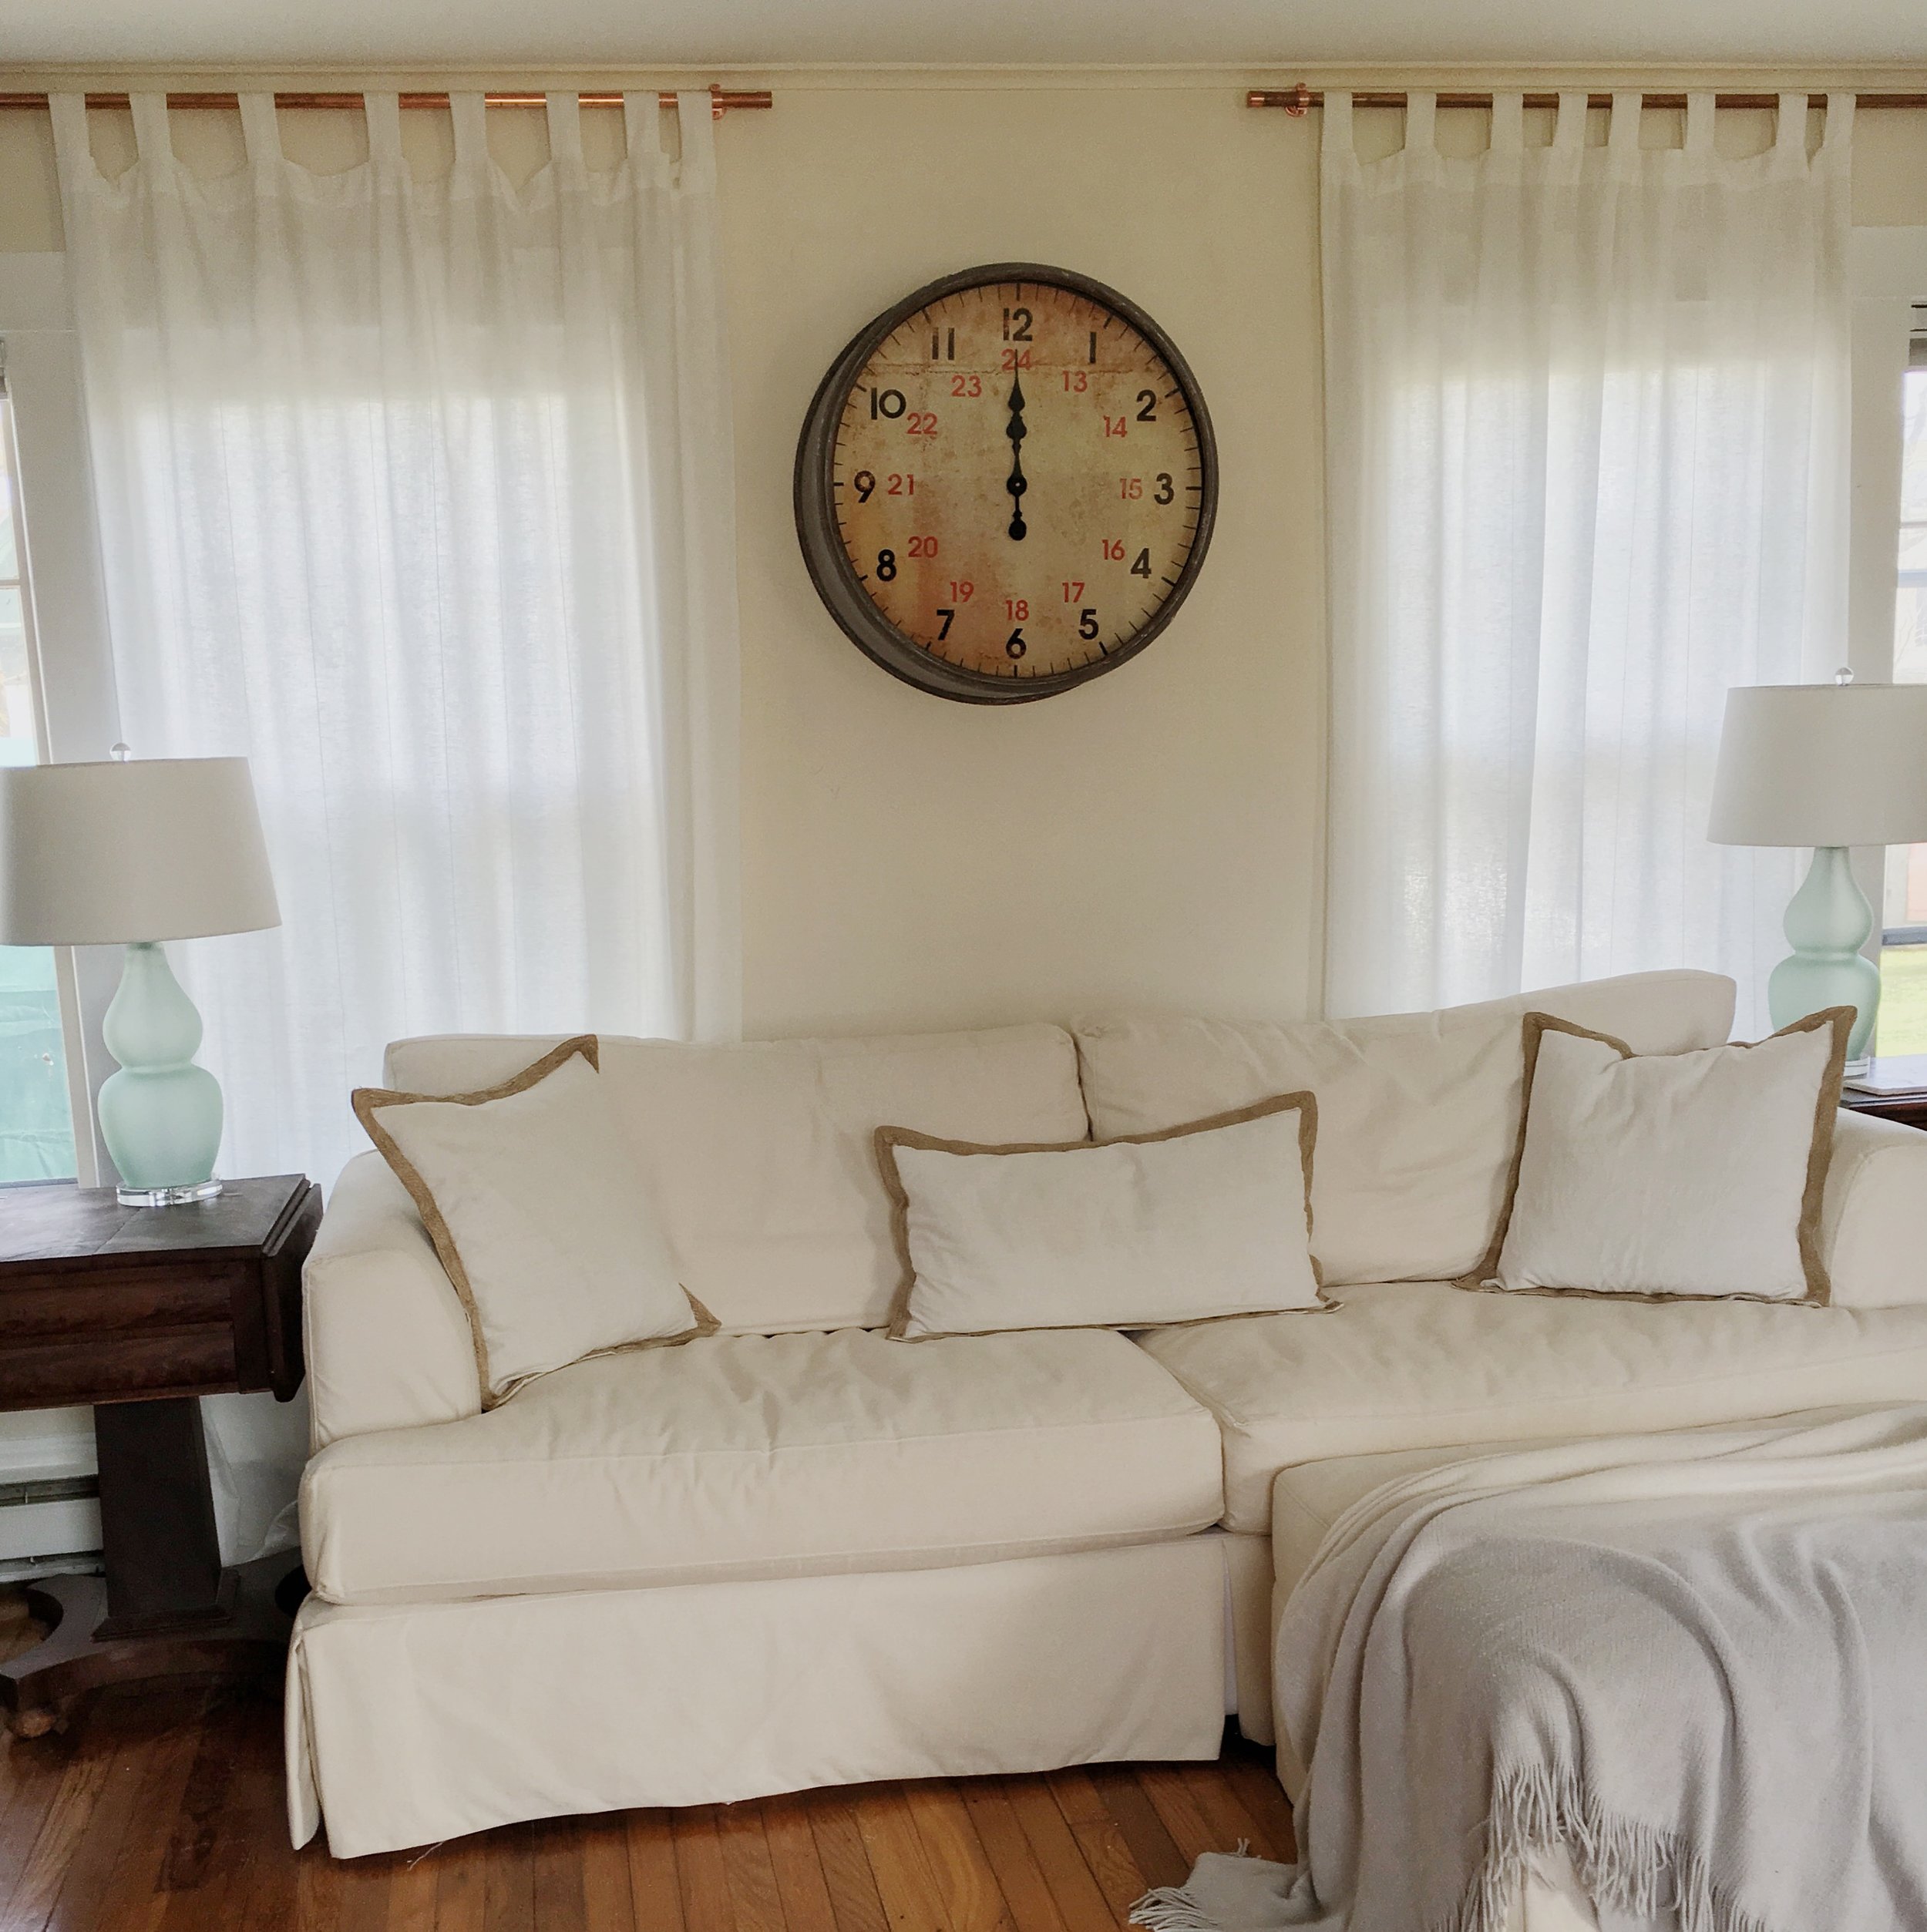
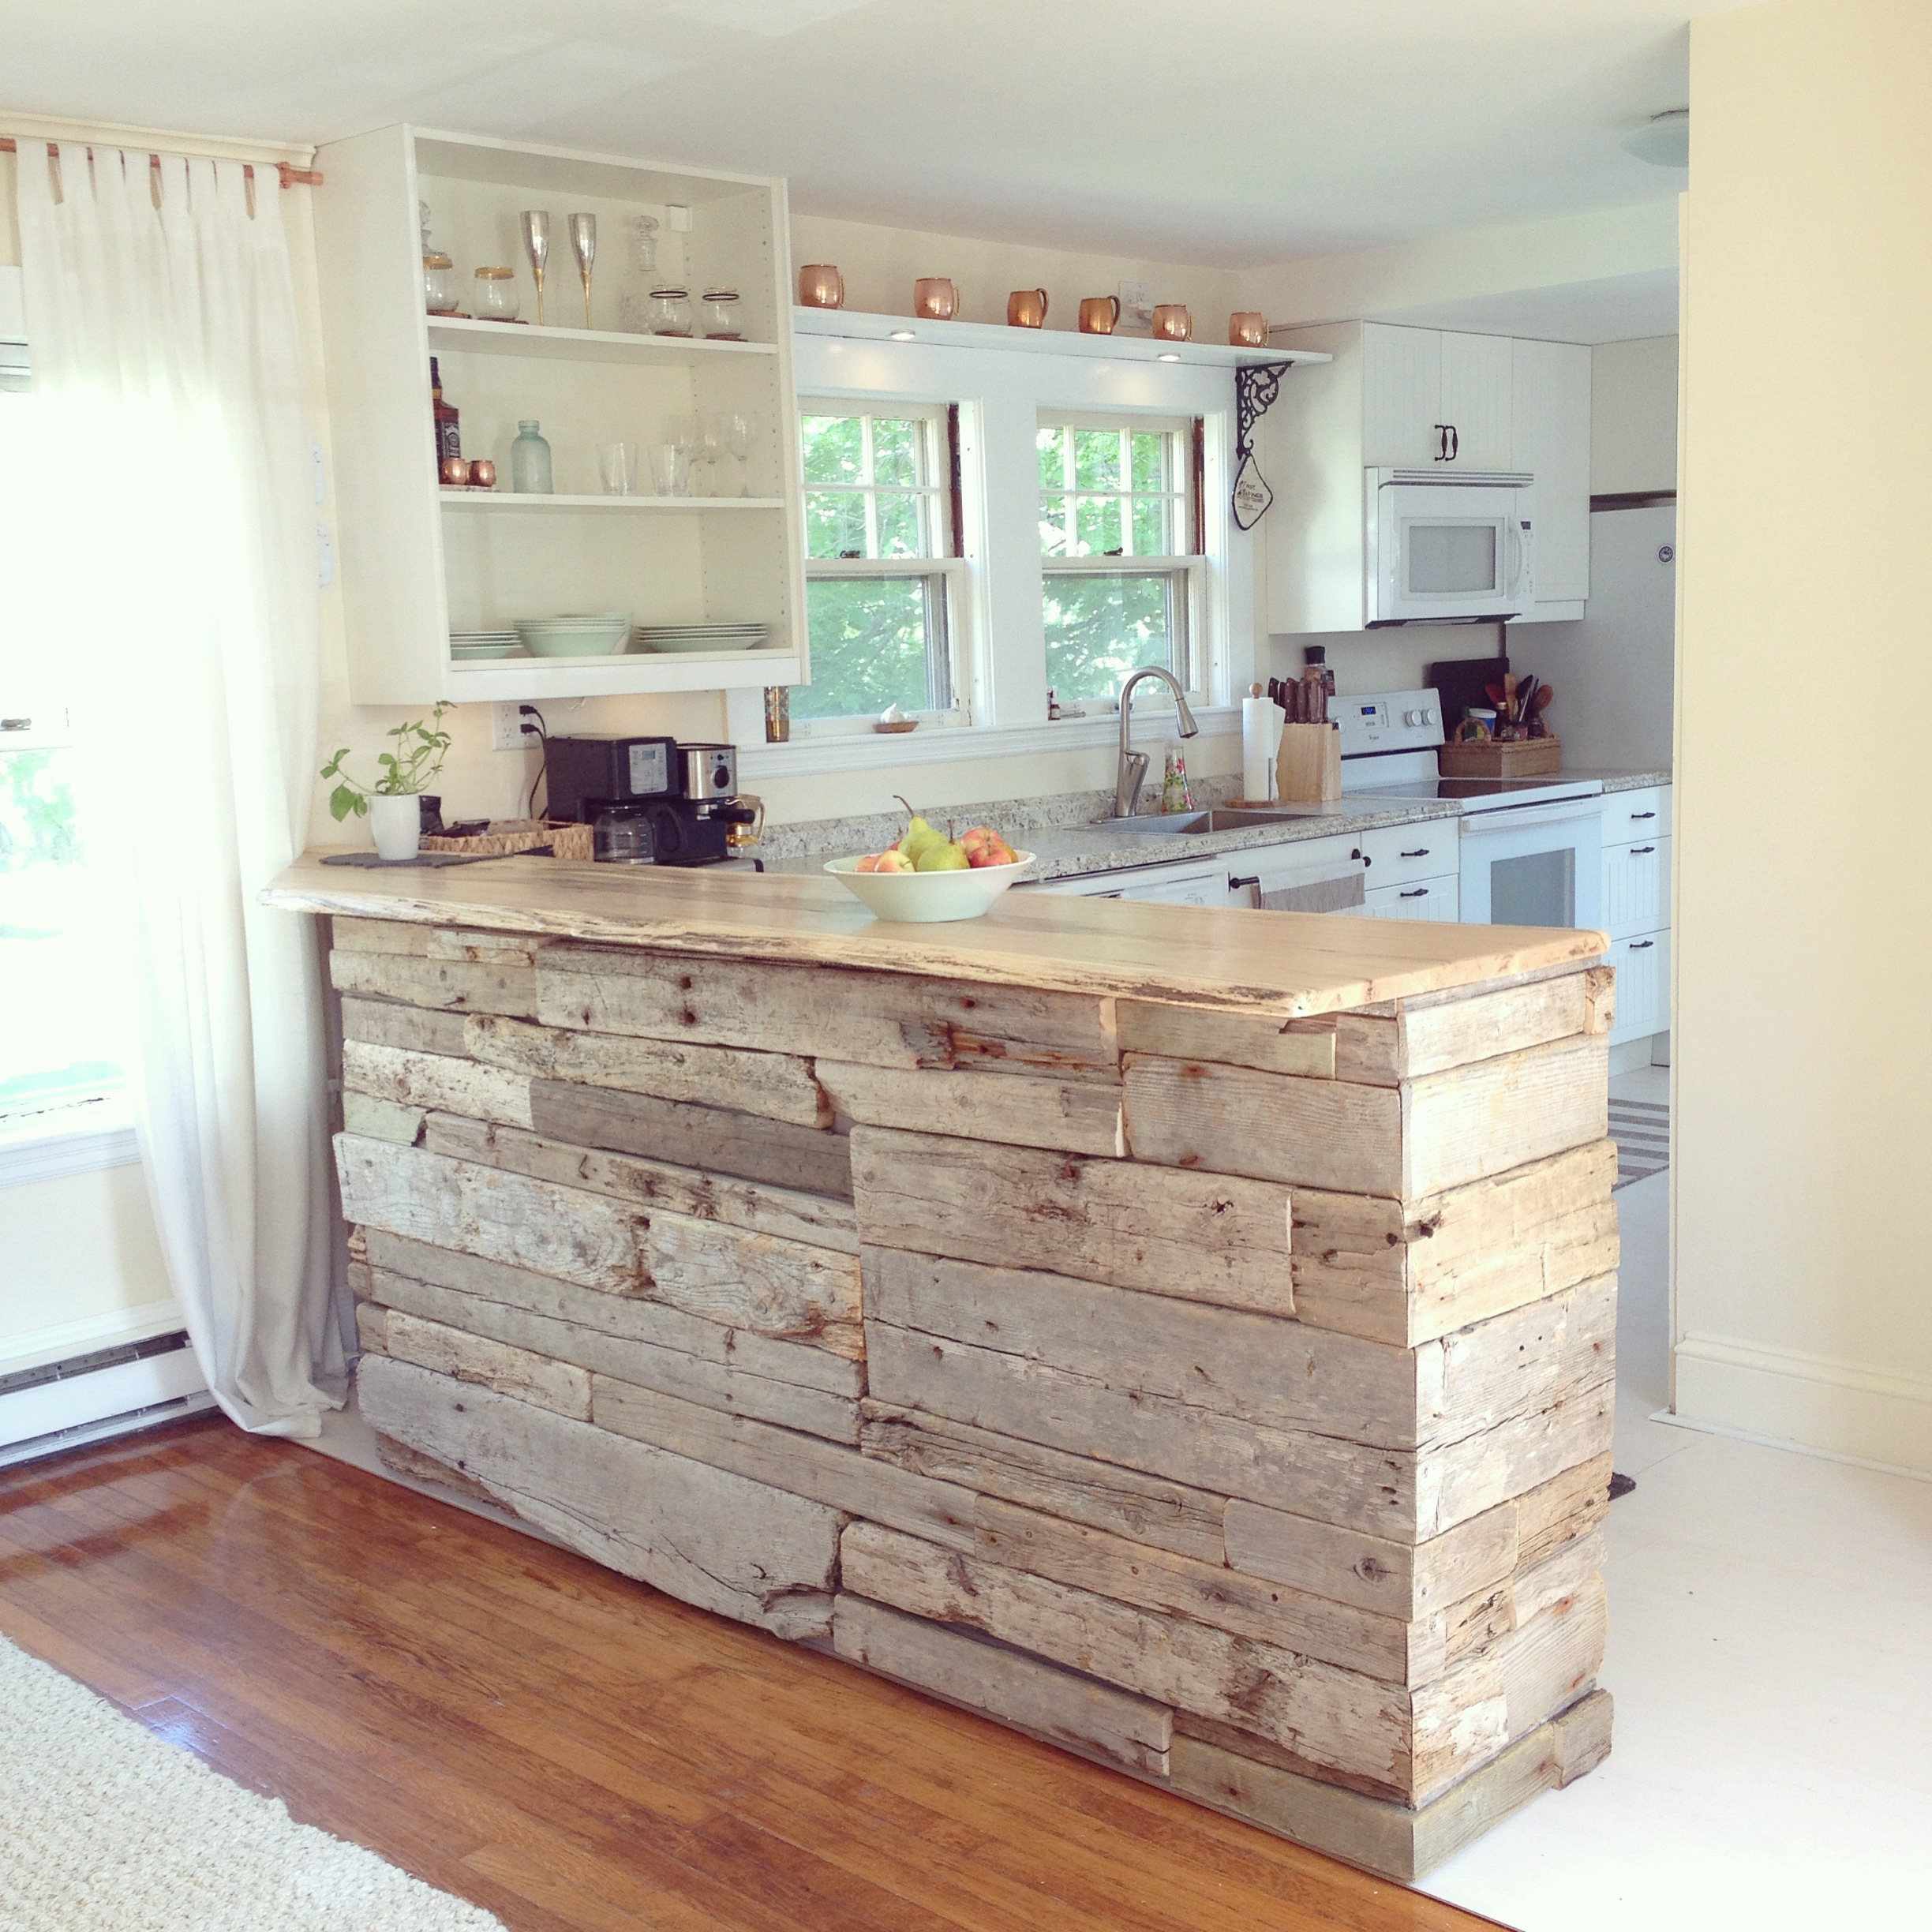
I used the Cameron drapes in Marshmallow with copper rods for the project below:


Step 7: Hang them! I can't give you too many pointers here since I usually ask for help from the muscles in my life...Also, these went up in February right after I had major surgery on my ankle so I had a cast with no weight bearing allowed and LOTS of pain killers. Ladders were not my friend. So I employed my man to assist. Pro tip: When asking a significant other to help, be sure to show them the HUNDREDS of dollars you're saving the family by going the DIY route!
So go forth and DIY! Feel free to comment with any questions and would LOVE to see your DIY. Email pics at hello@WKNDRdesign.com or tag @wkndrdesign on Instagram!
Cheers!
xo
Becky